Rotex Redesign
Duration: 13 Weeks
Summer 2025
understanding the Current tool
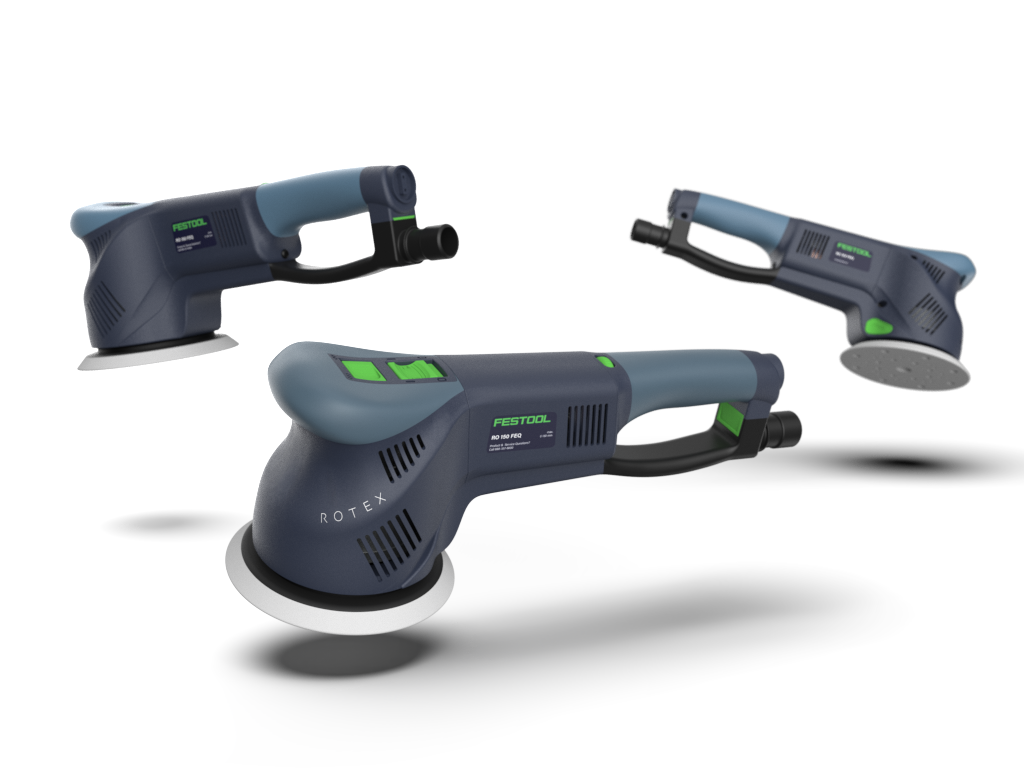
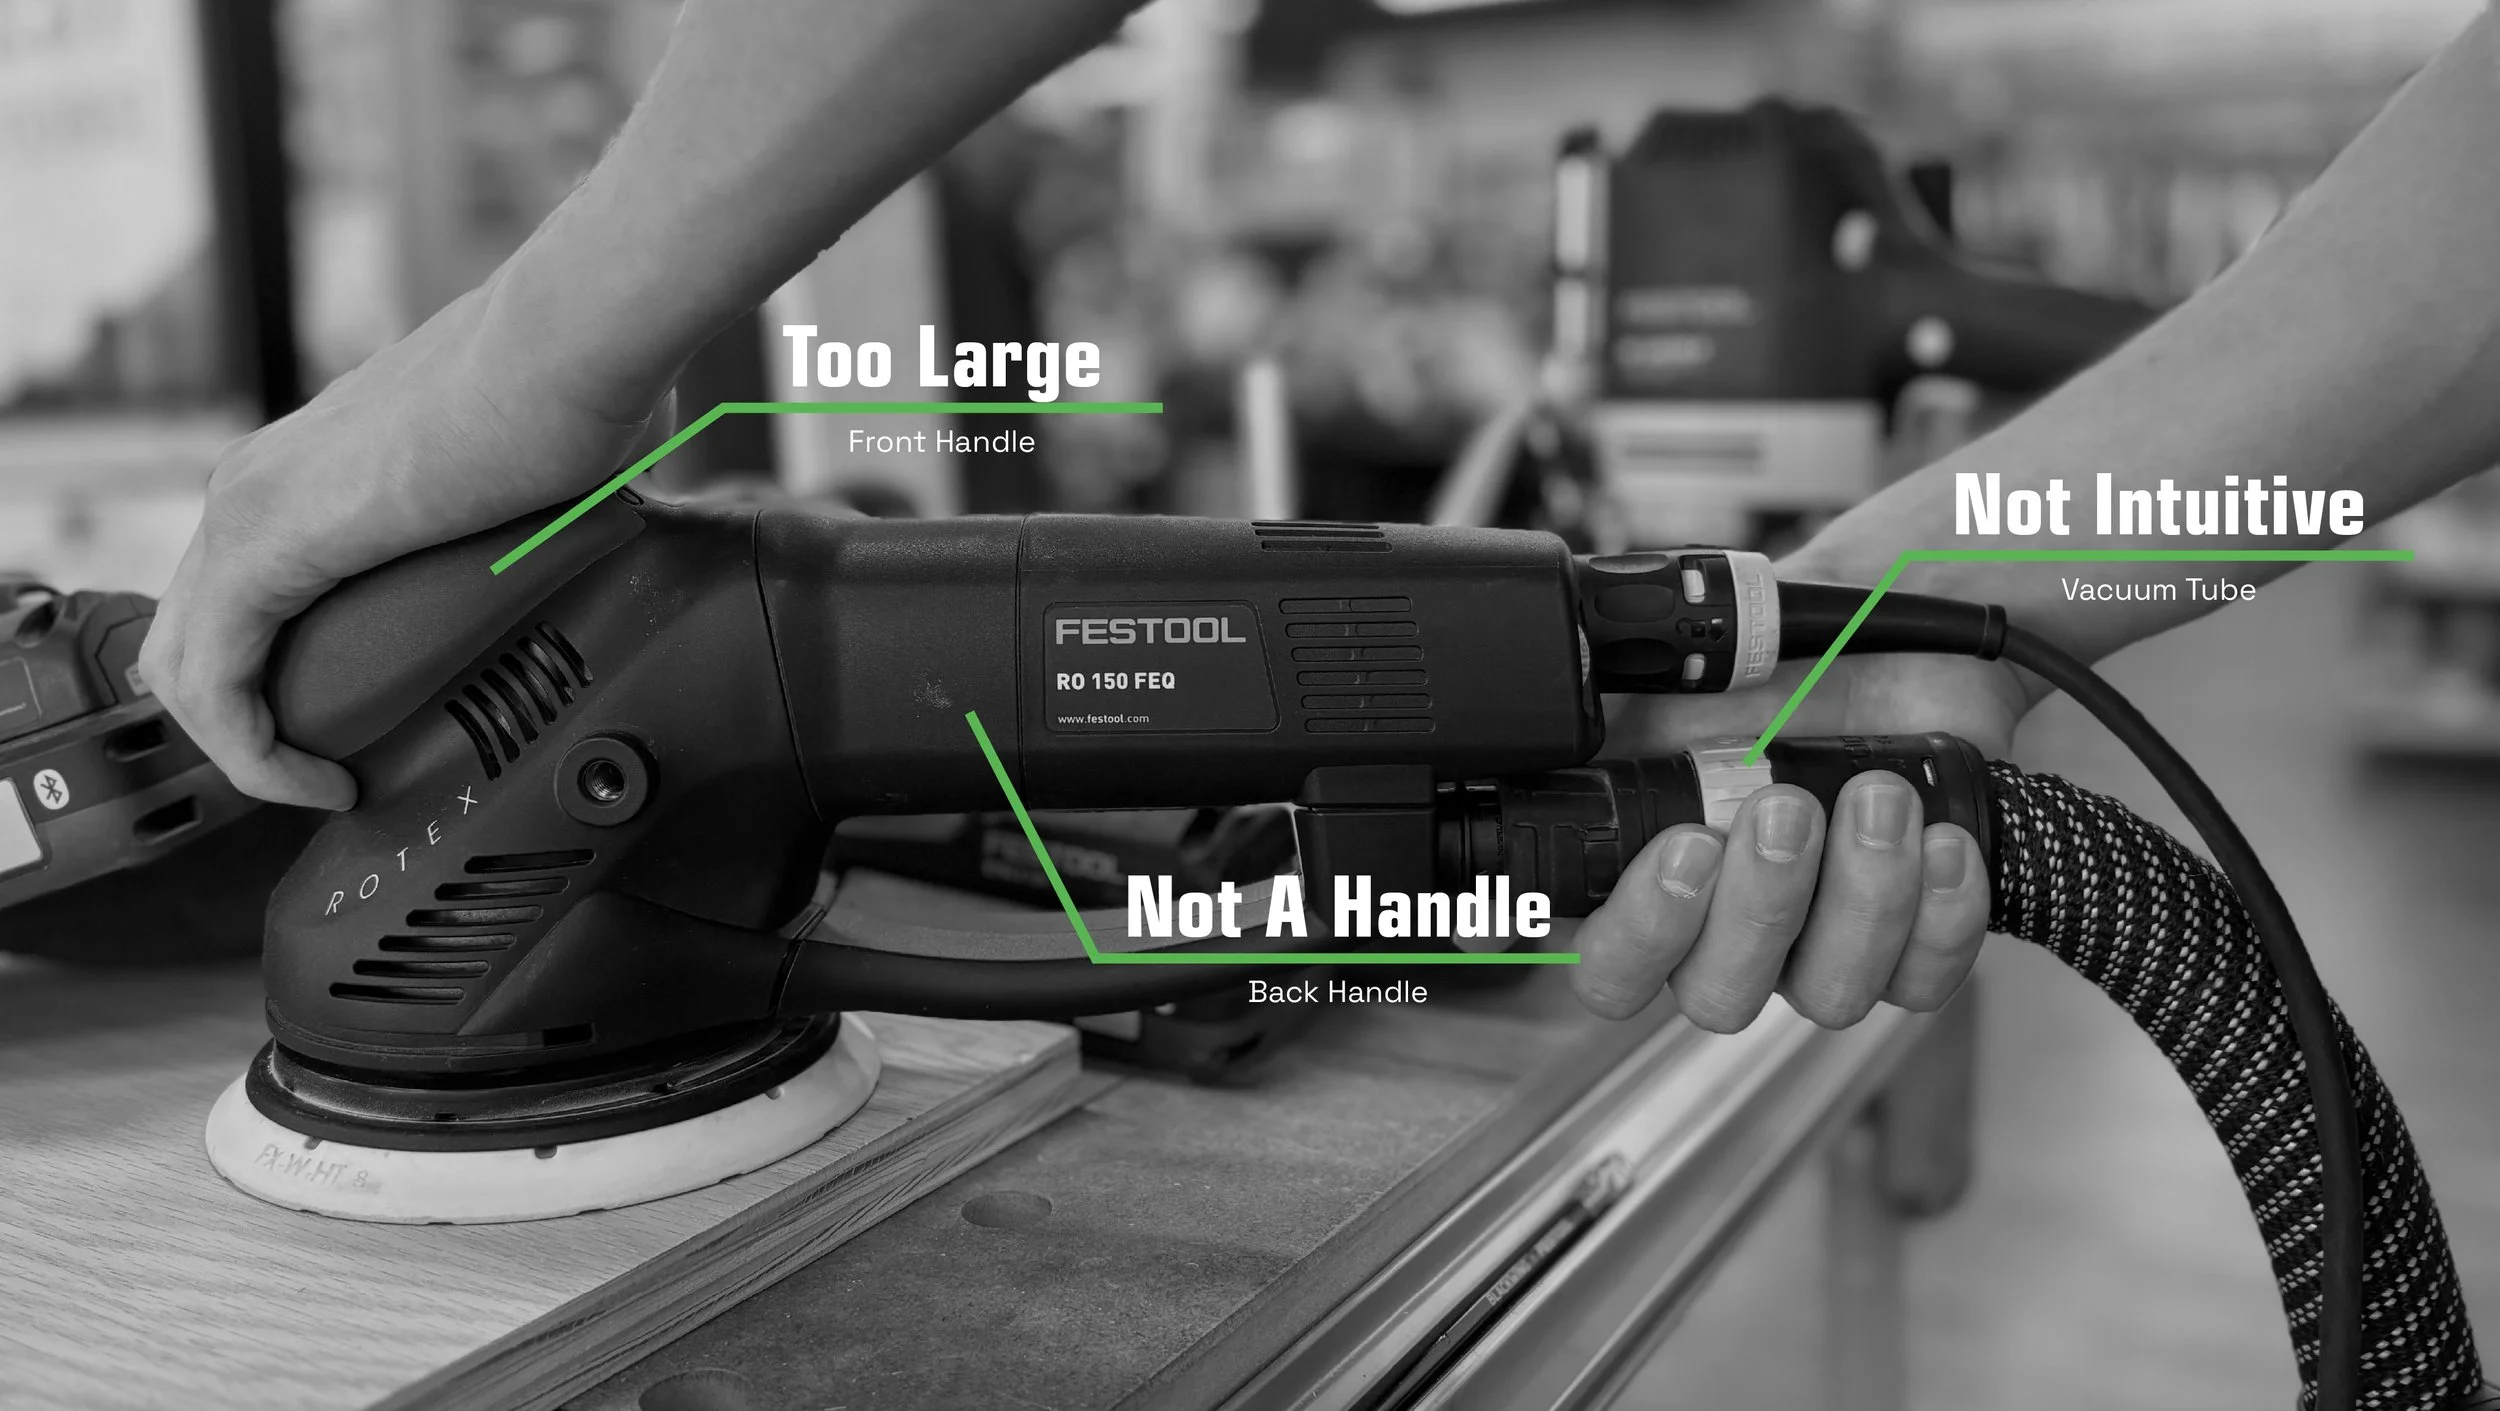
I met with a Festool expert, and we discussed the current Rotex sander. He demonstrated the proper way to use the sander is to hold it by the vacuum tube and use the front handle as a guide. There are a few flaws with this approach. The vacuum tube could be disconnected, and the vents could be blocked, which are vital for cooling the tool. In addition, this approach is not intuitive. The placement of the vacuum channel on the tool encourages users to place their hand on the center of the tool. The tool is also exibited with hand placement at the center of the tool when advertised.

Image from rocker.com
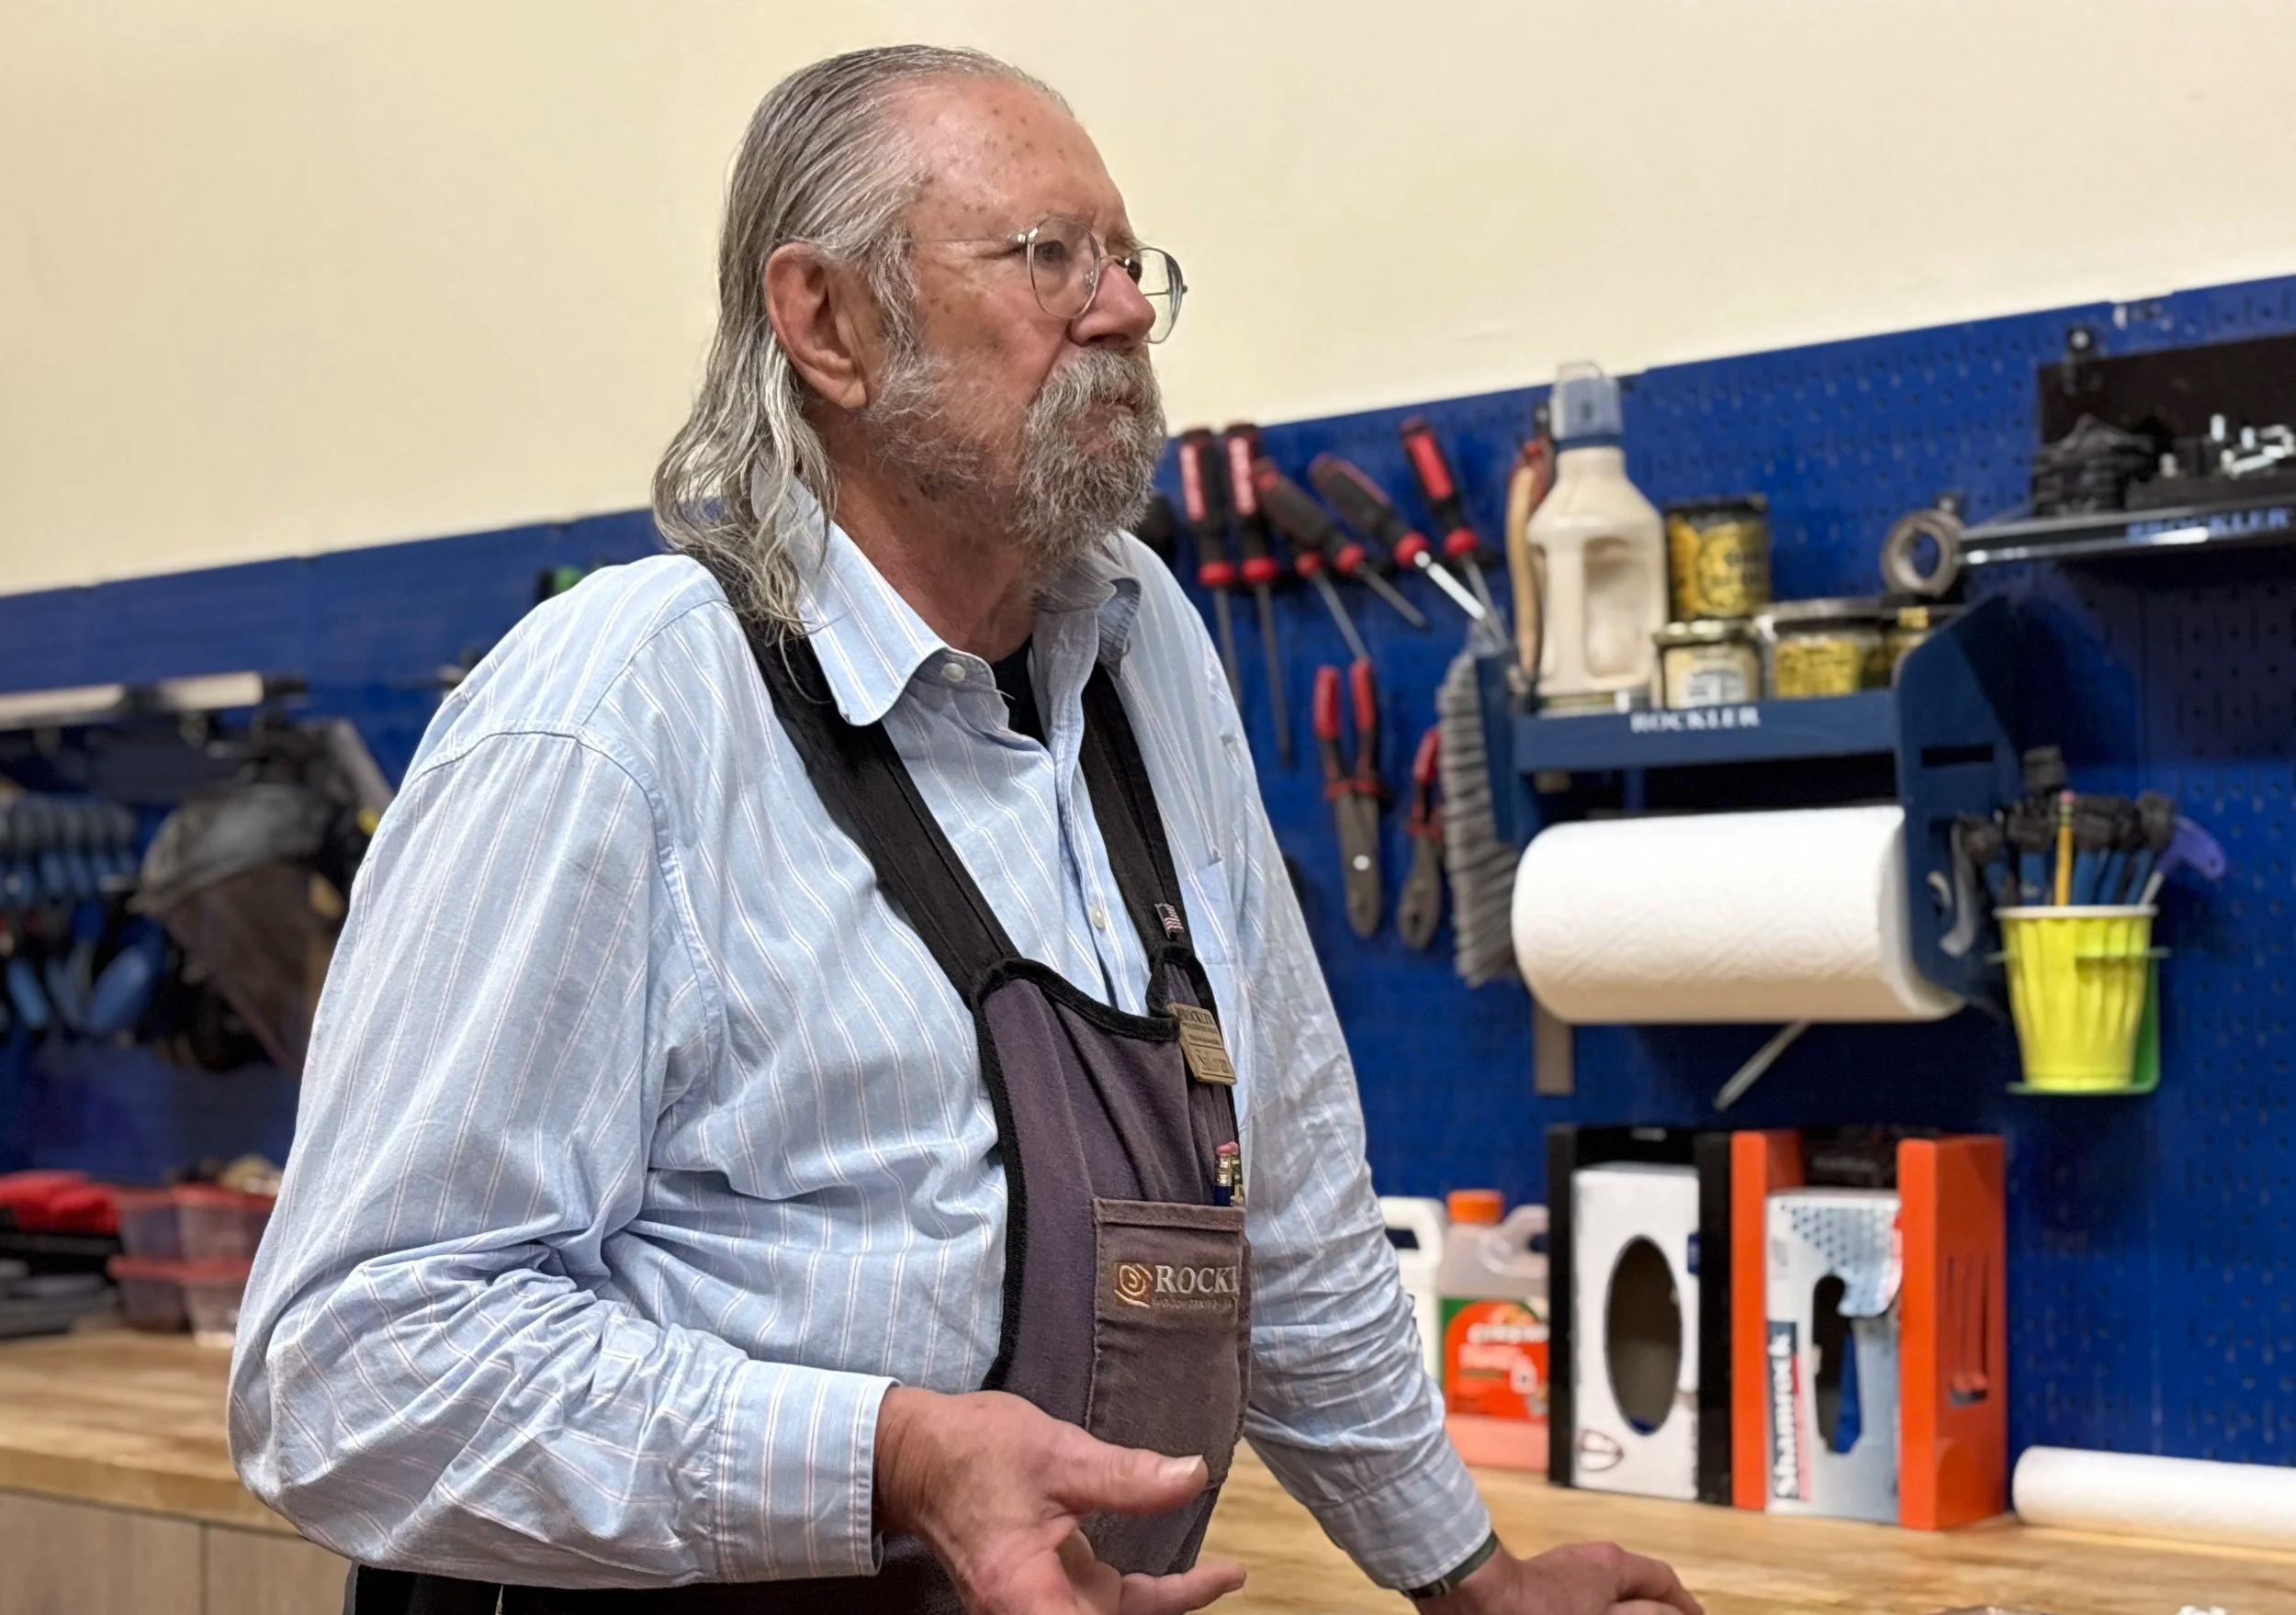
Sully is a former graphic designer who transitioned into a luthier and currently works at Rockler Woodworking. He creates custom guitar designs. He tries to create 10-20 unique guitars a year. A high-efficiency sander that is capable of following the organic contours of his design is necessary to achieve this goal.
The Festool Rotext Sander is his tool of choice, and he recommends it to all his customers. He loves its efficiency and power, but it does have control issues. When sanding for extended periods, losing control can cause gouges in the work. This can be a major setback, but despite this, Sully and his customers still chose the Rotex due to its productivity and effectiveness.
Sully would like the tool to retain its power and efficiency but gain better control with a more ergonomic design.
Meet Sully
I was able to gain feedback from multiple users to gain a better understanding of problems with the tool.
User Research
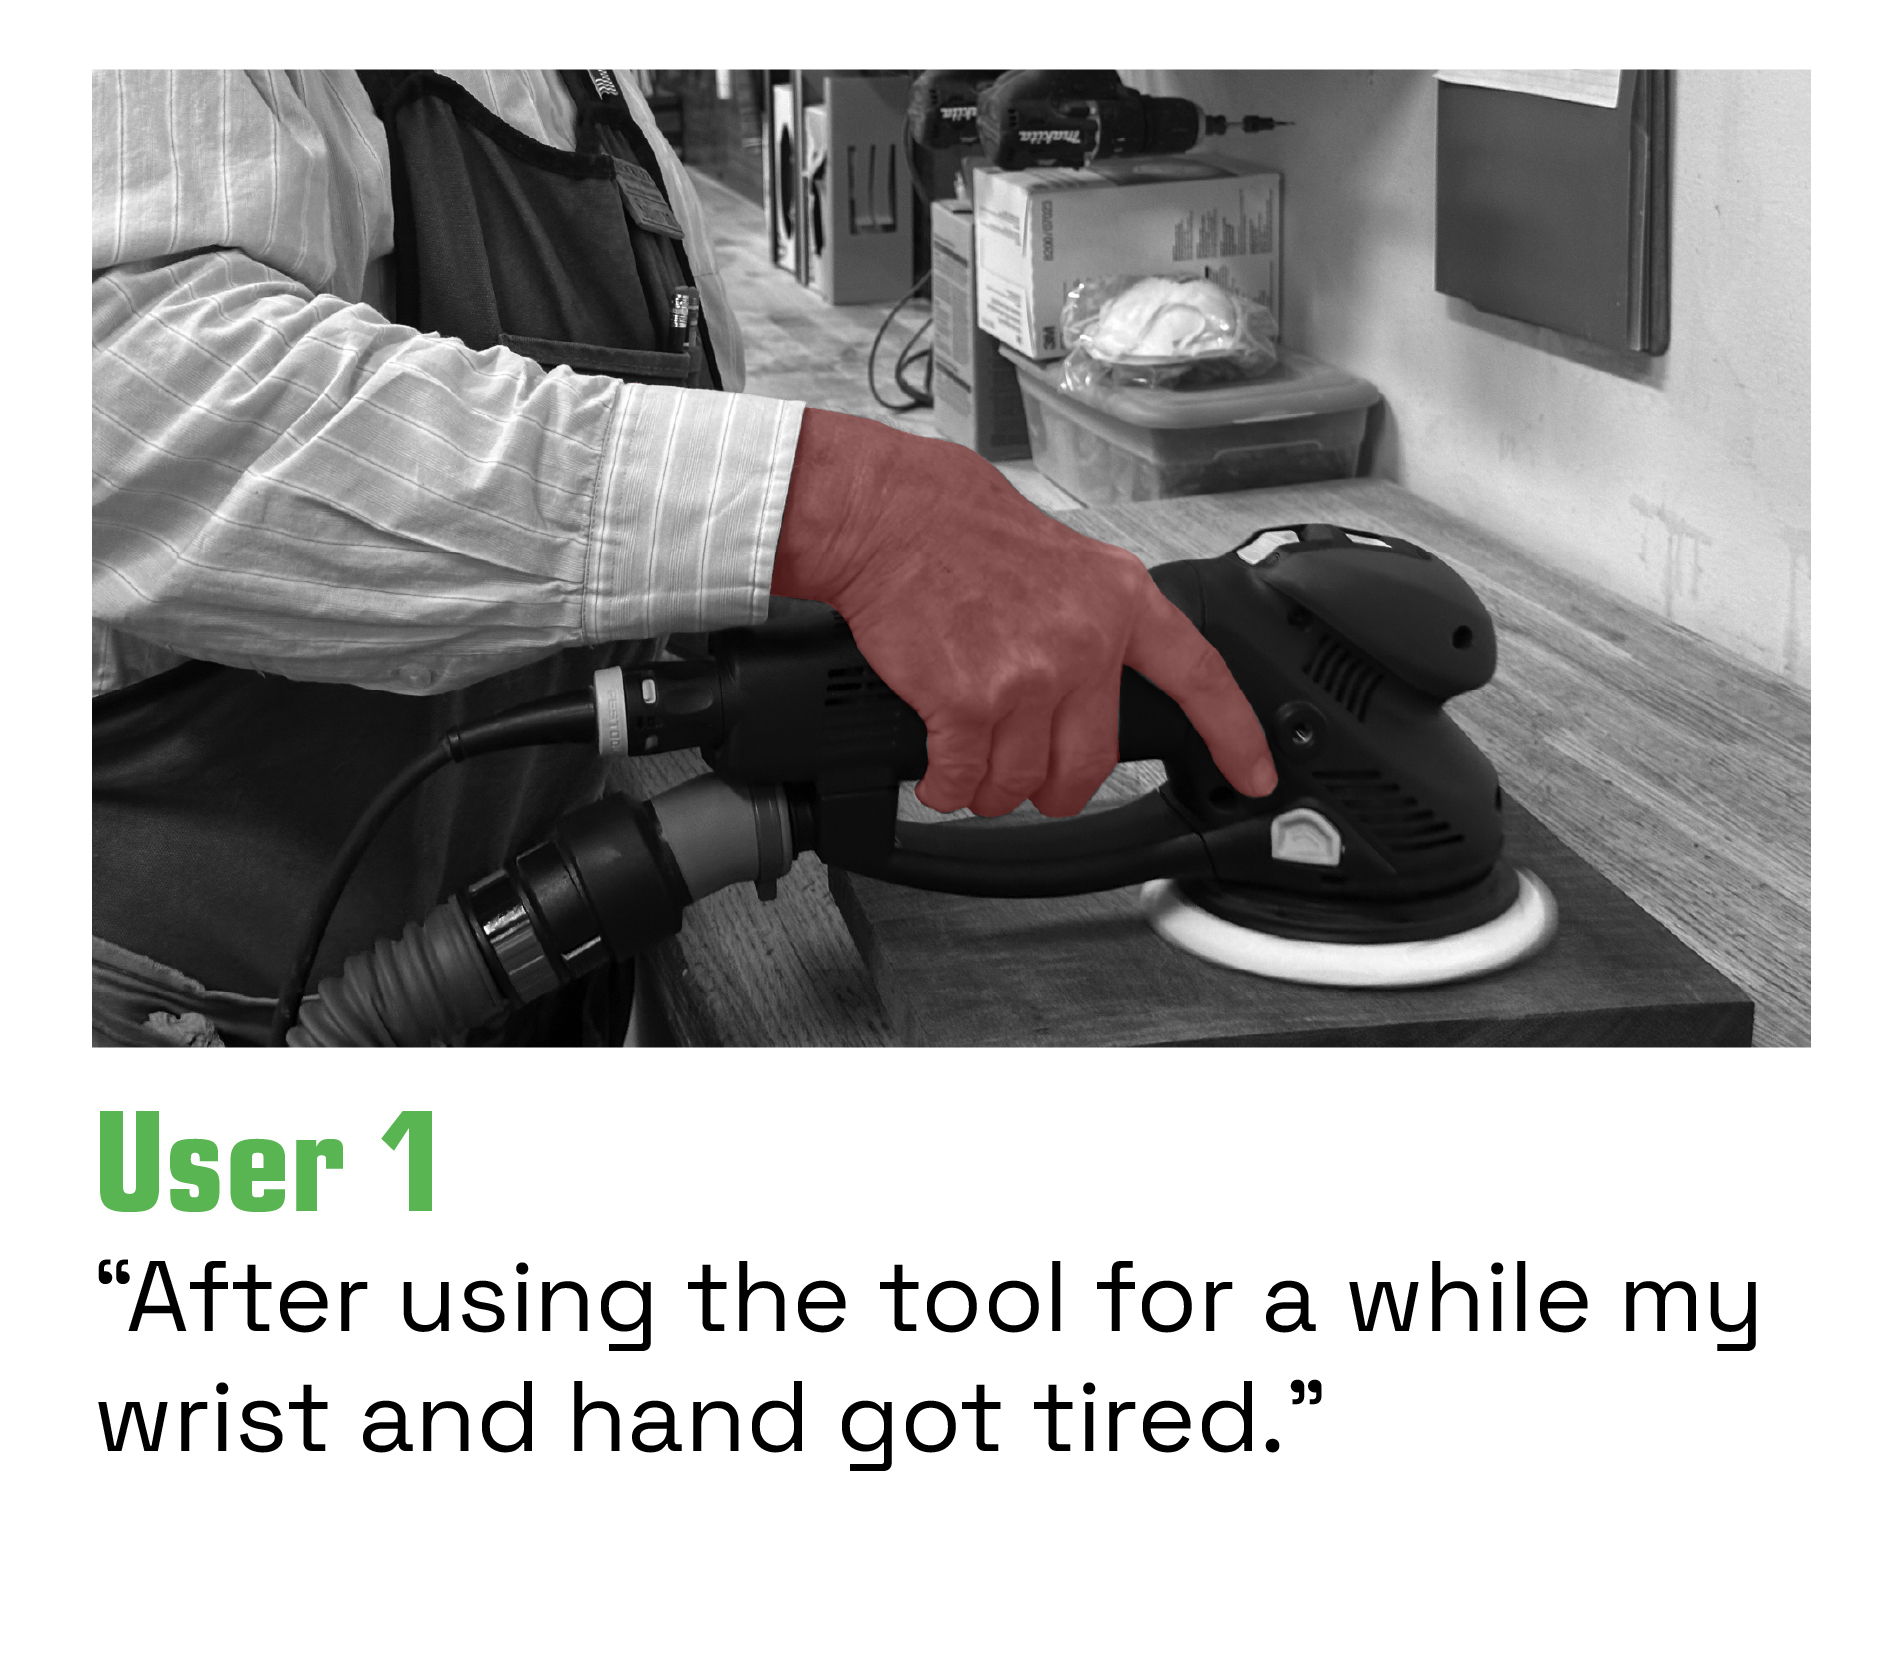
Key Insights
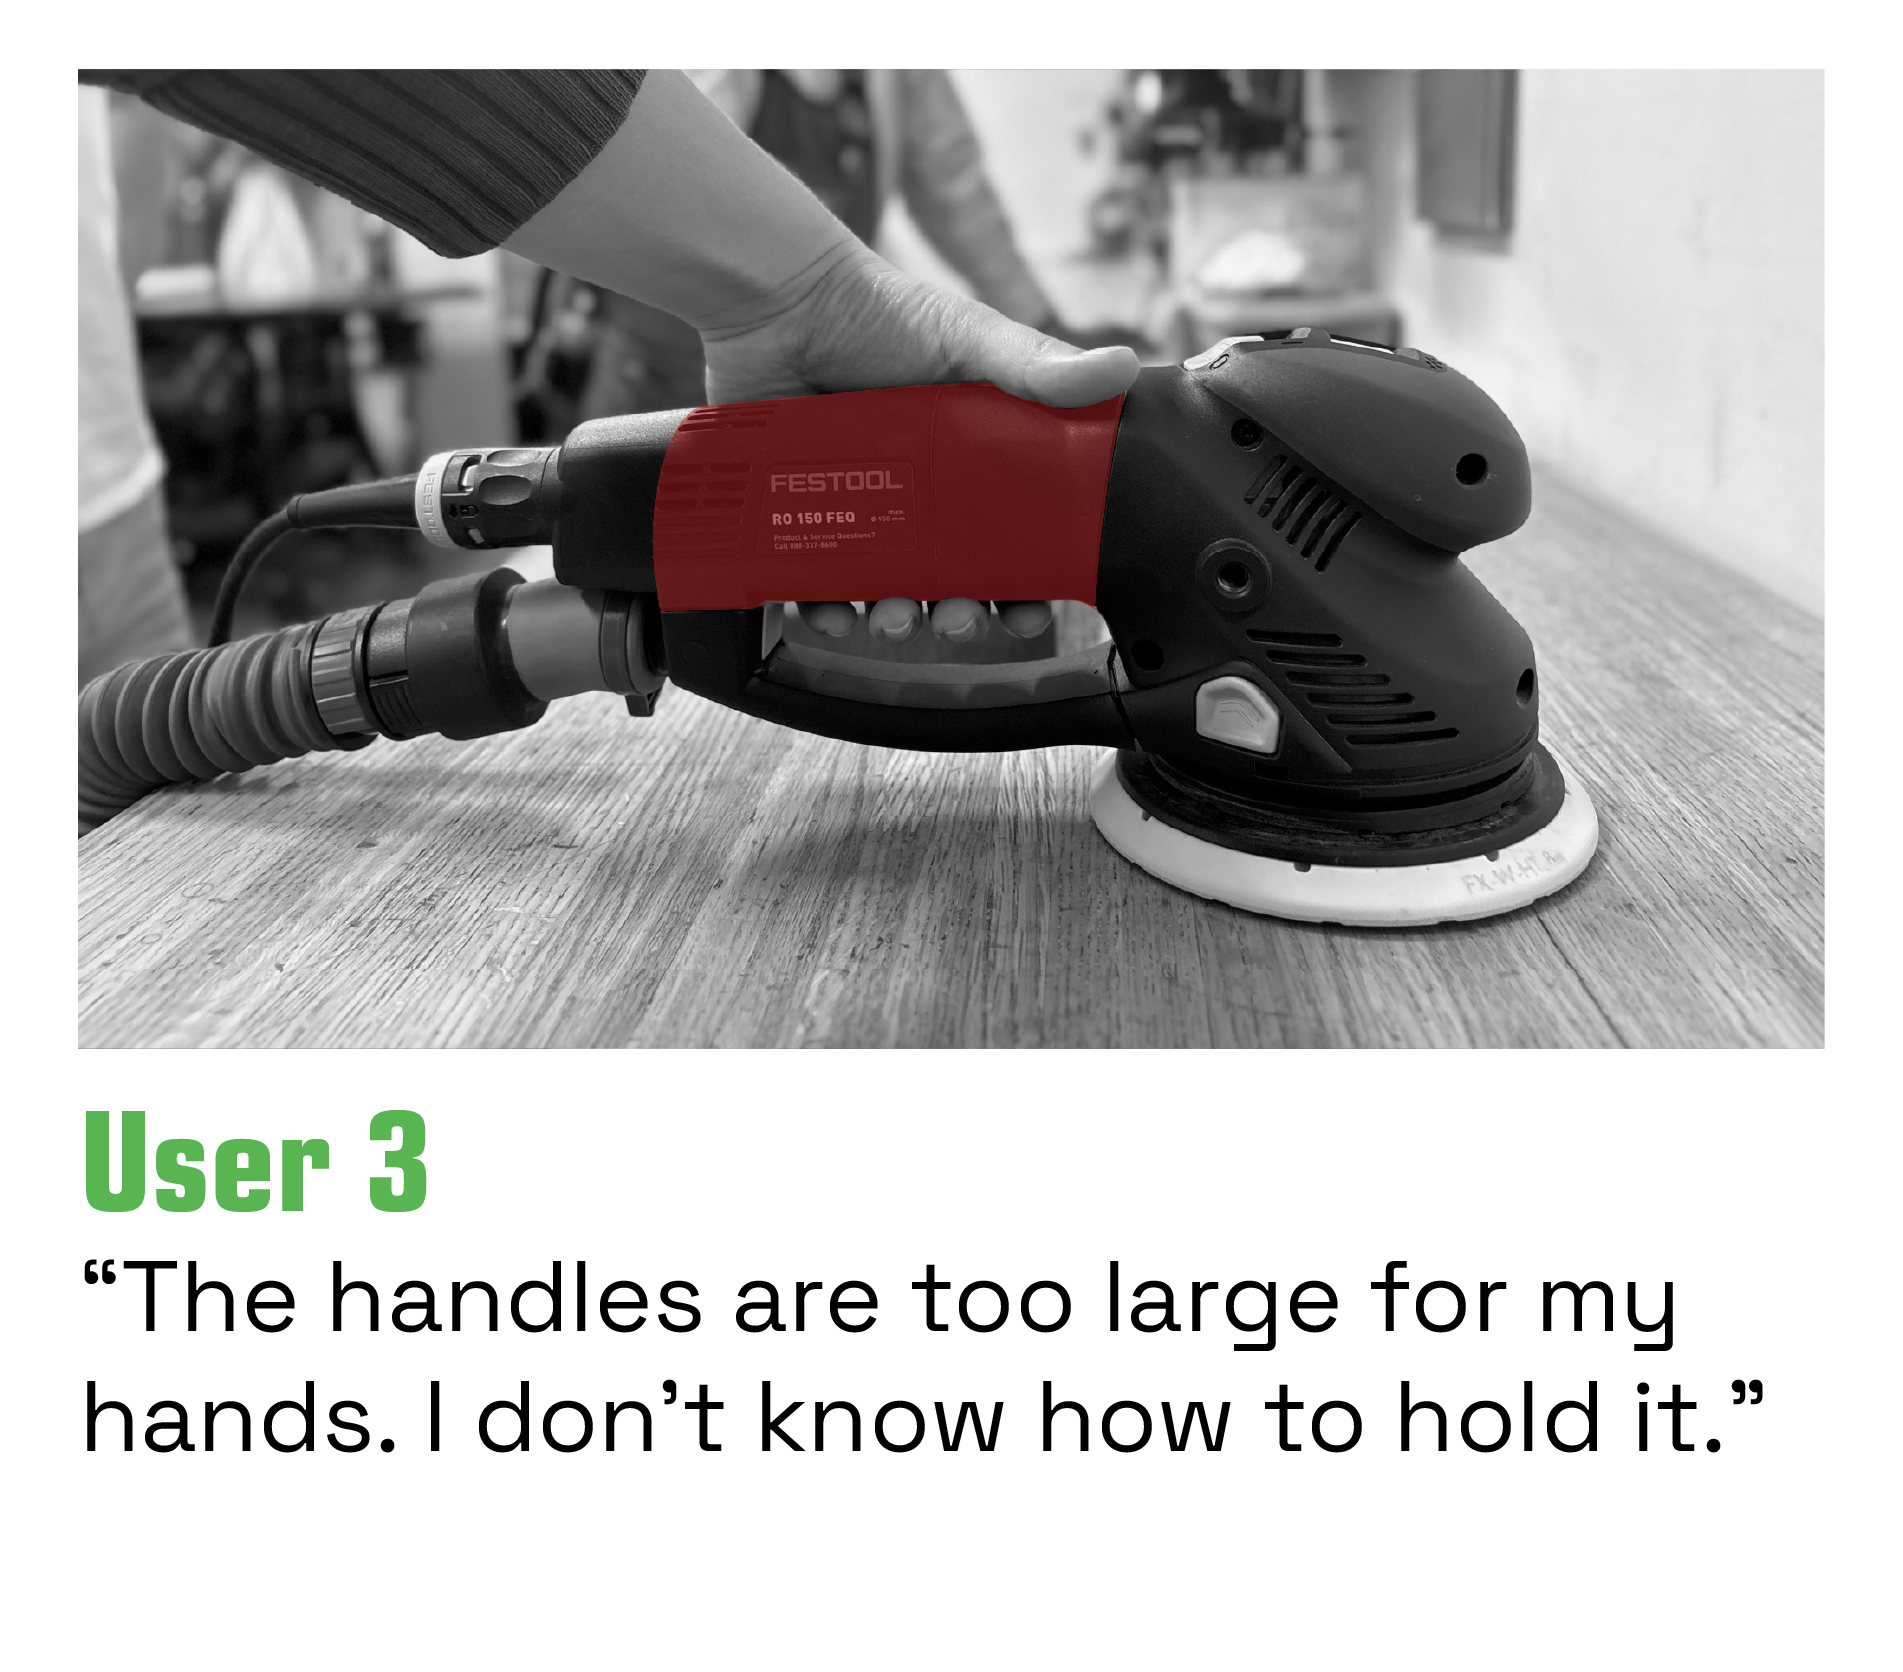
Too large for average hand
Creates awkward and uncomfortable angles
Continually adjusting hand over and over during sanding
Some users completely avoid it
Front Handle
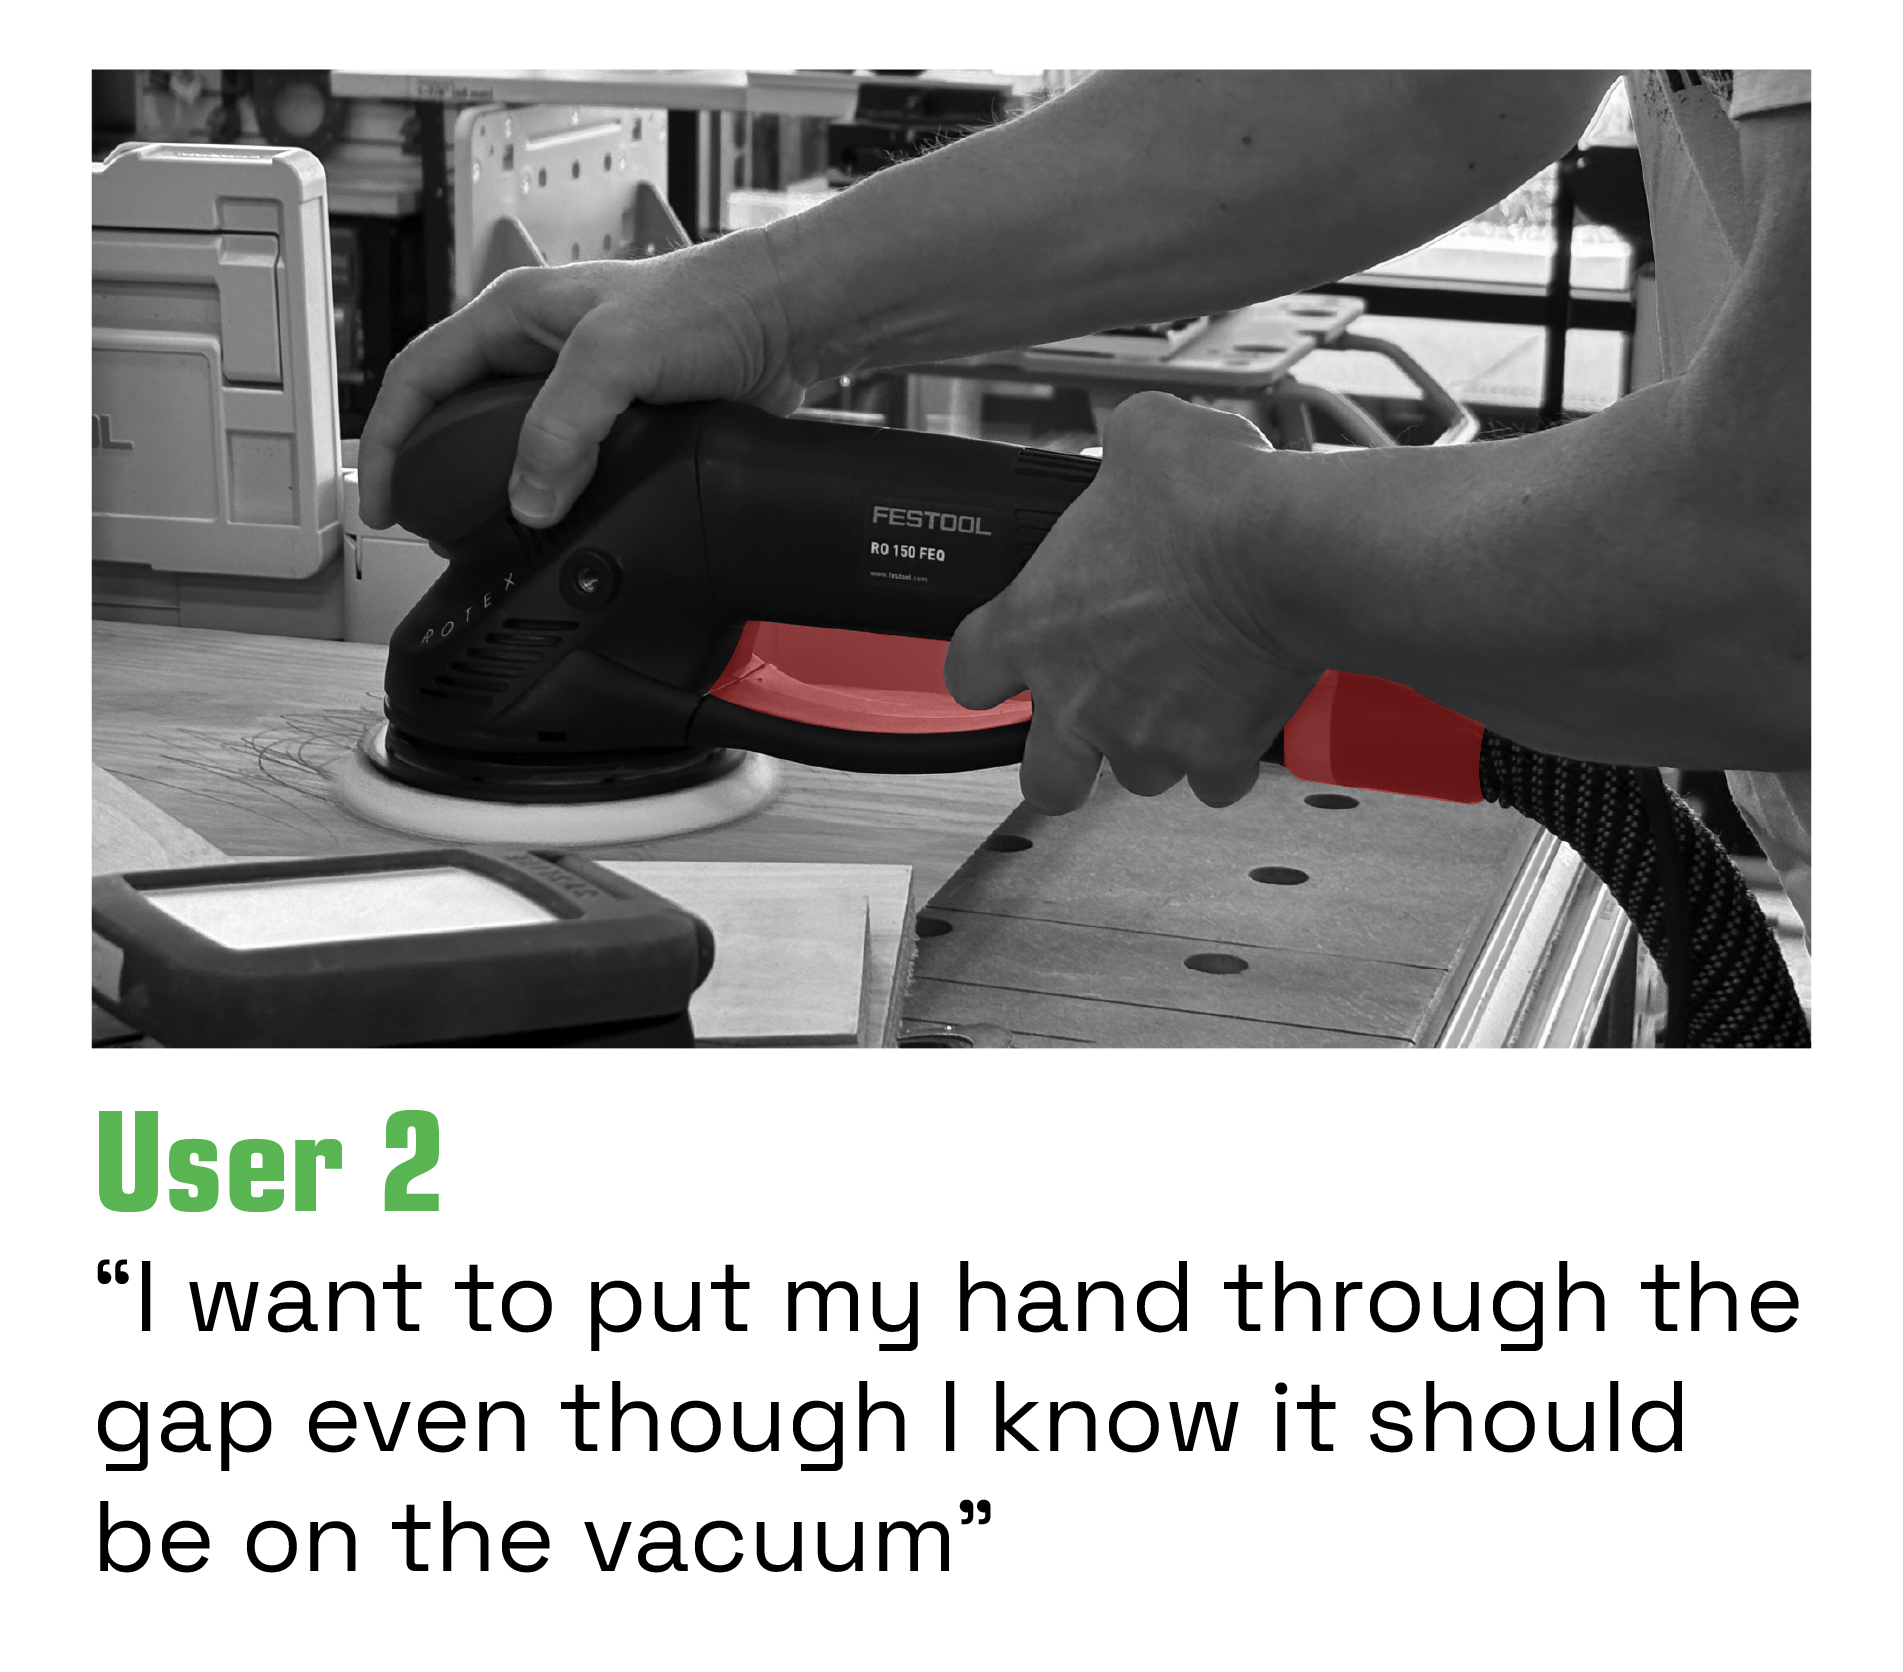
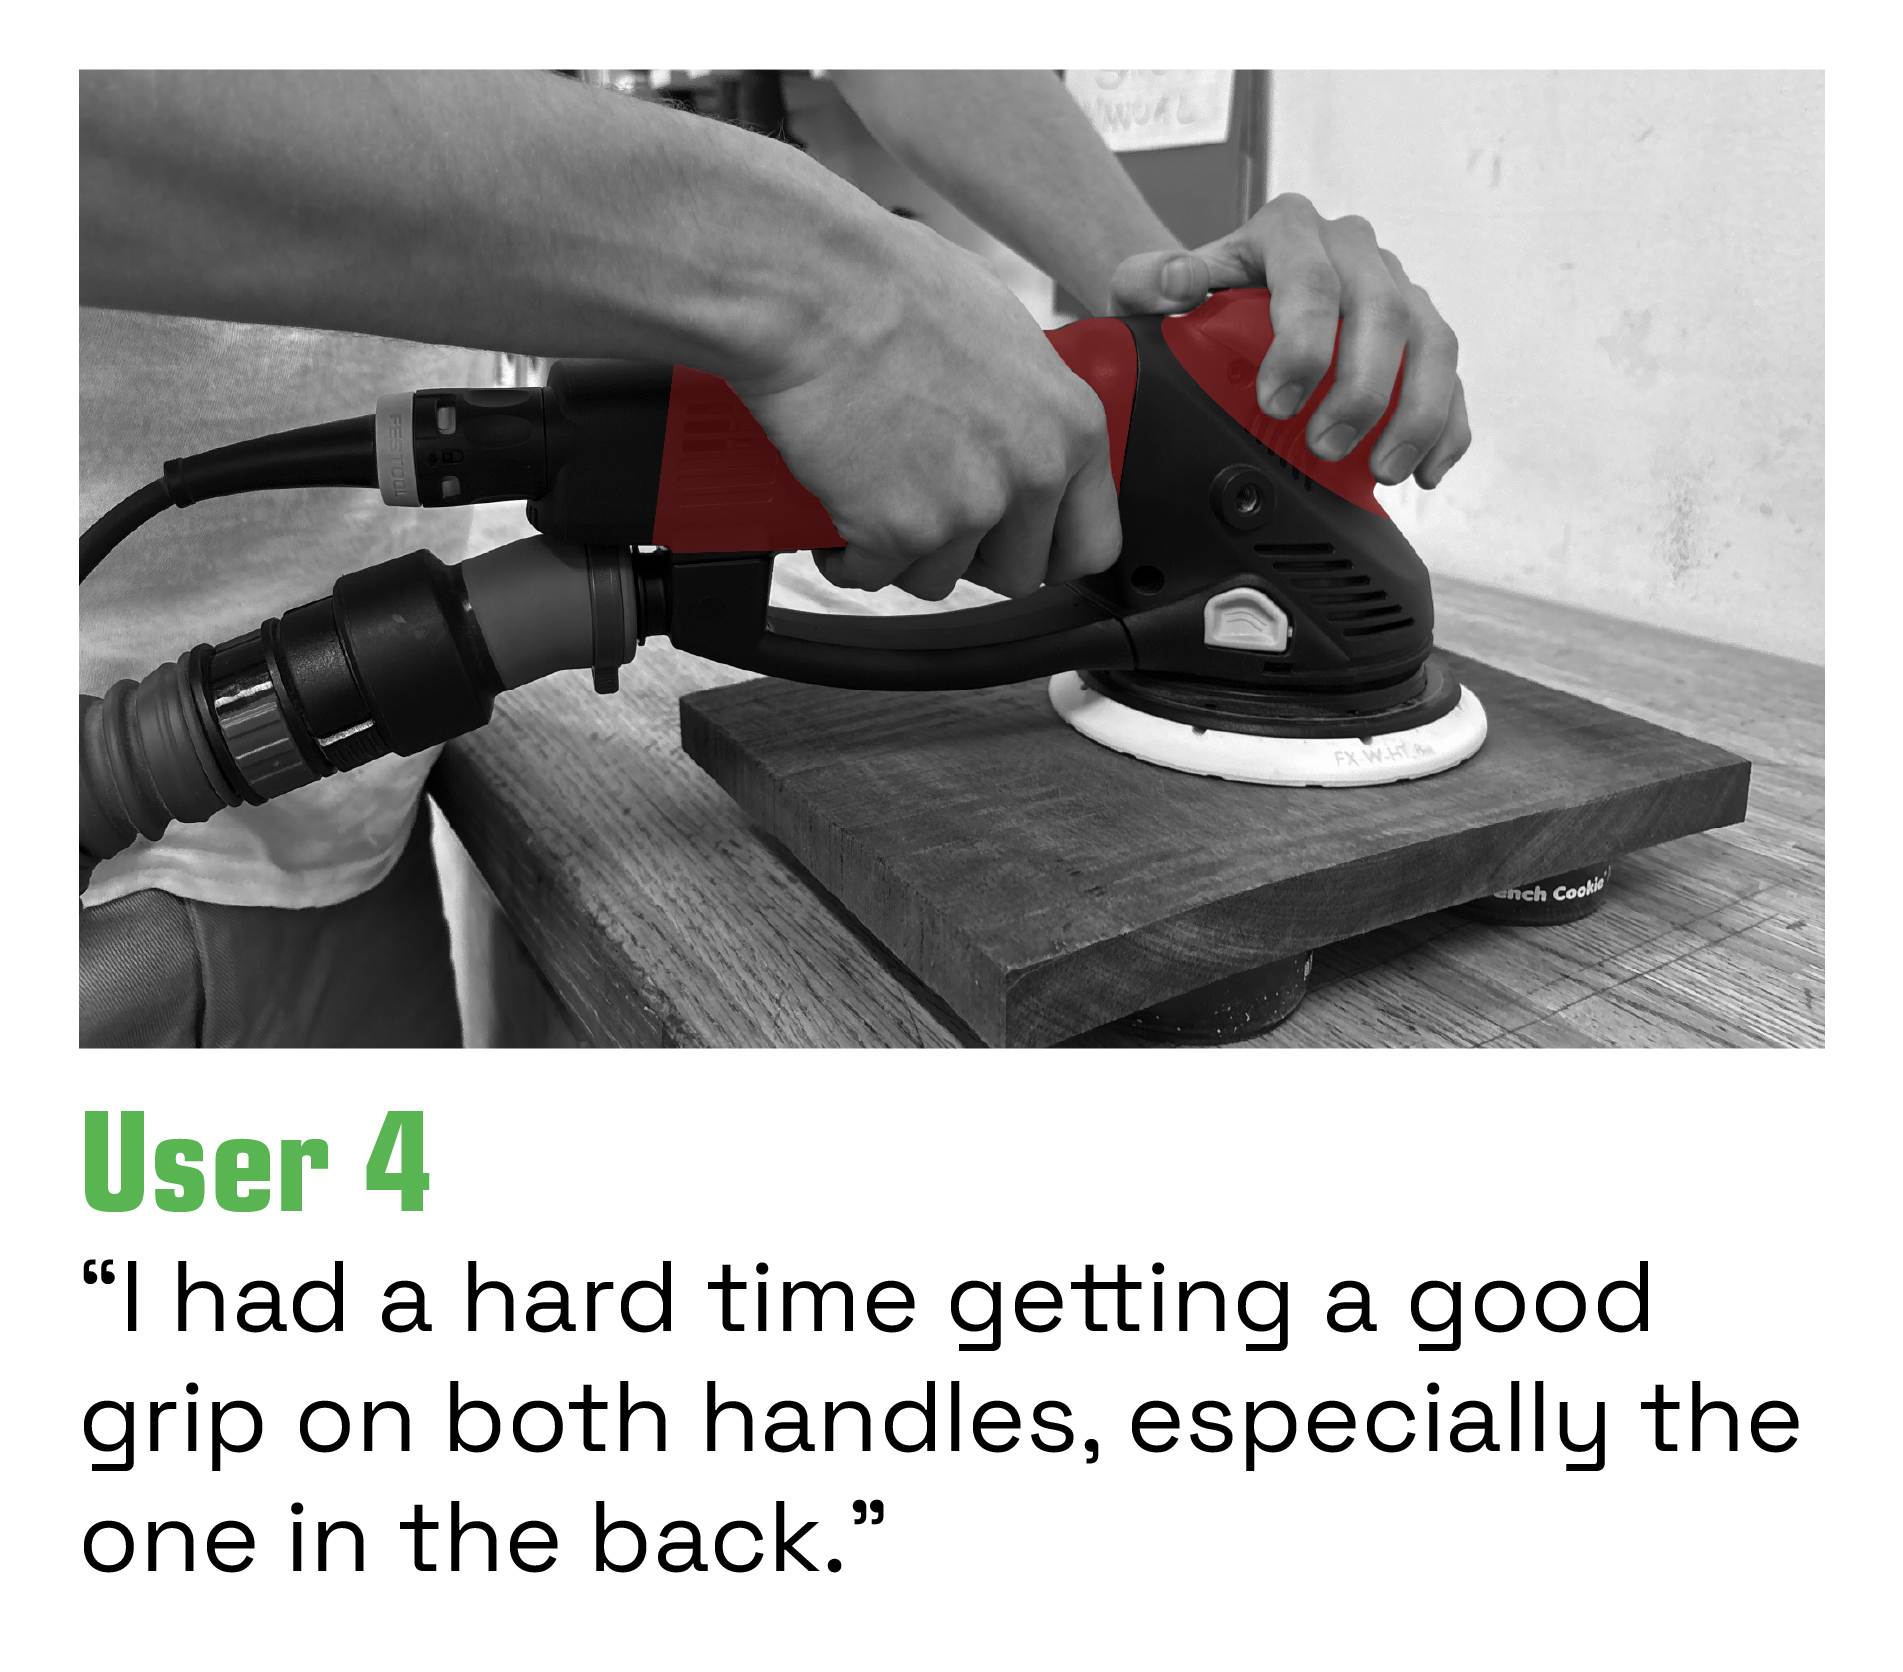
Not actually a handle
Too large for average hand
Heats up after prolonged use
Vents can be blocked during use
Needs to be used for vertical sanding
Back “Handle”
Not intuitive to hold tool by the vacuum
Vacuum attachment point is not ergonomic
Vacuum could be removed or loosened
Difficult to control when sanding organic shapes
Vacuum Tube
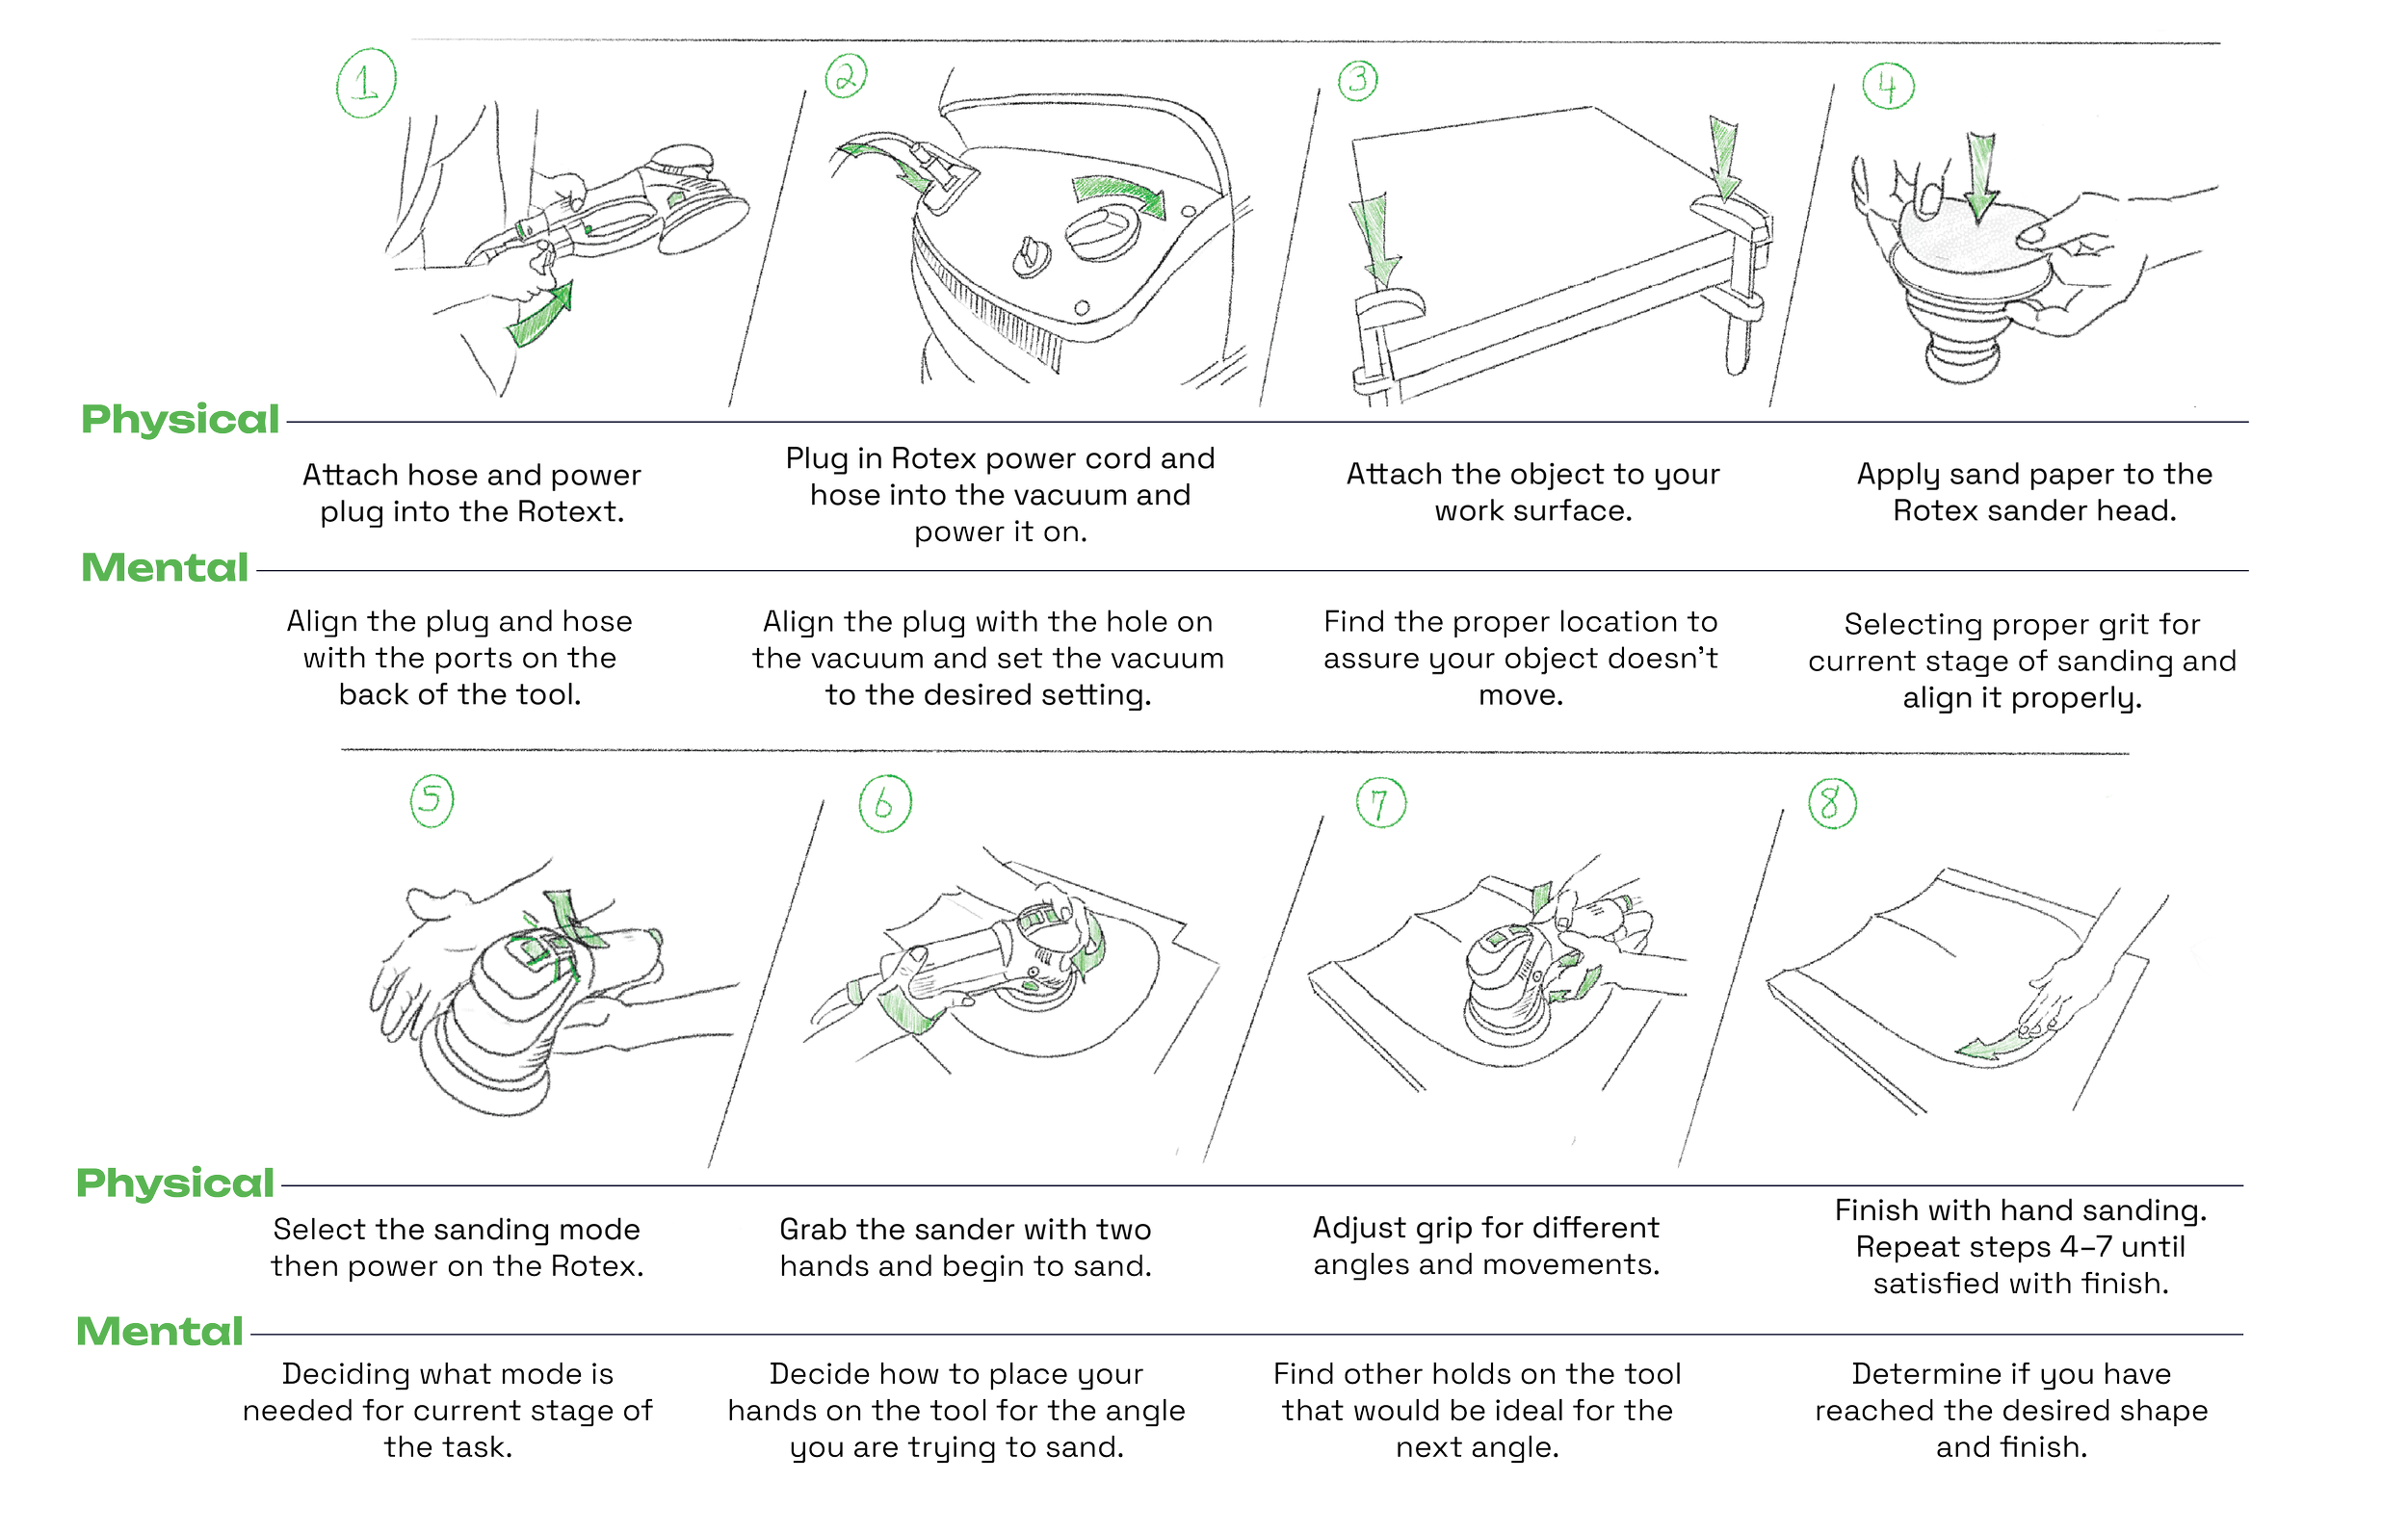
Task analysis

Design Statement
Create a Rotex Sander that maintains the original's efficiency but improves the user’s ability to control the tool by refining the design to be more ergonomic.
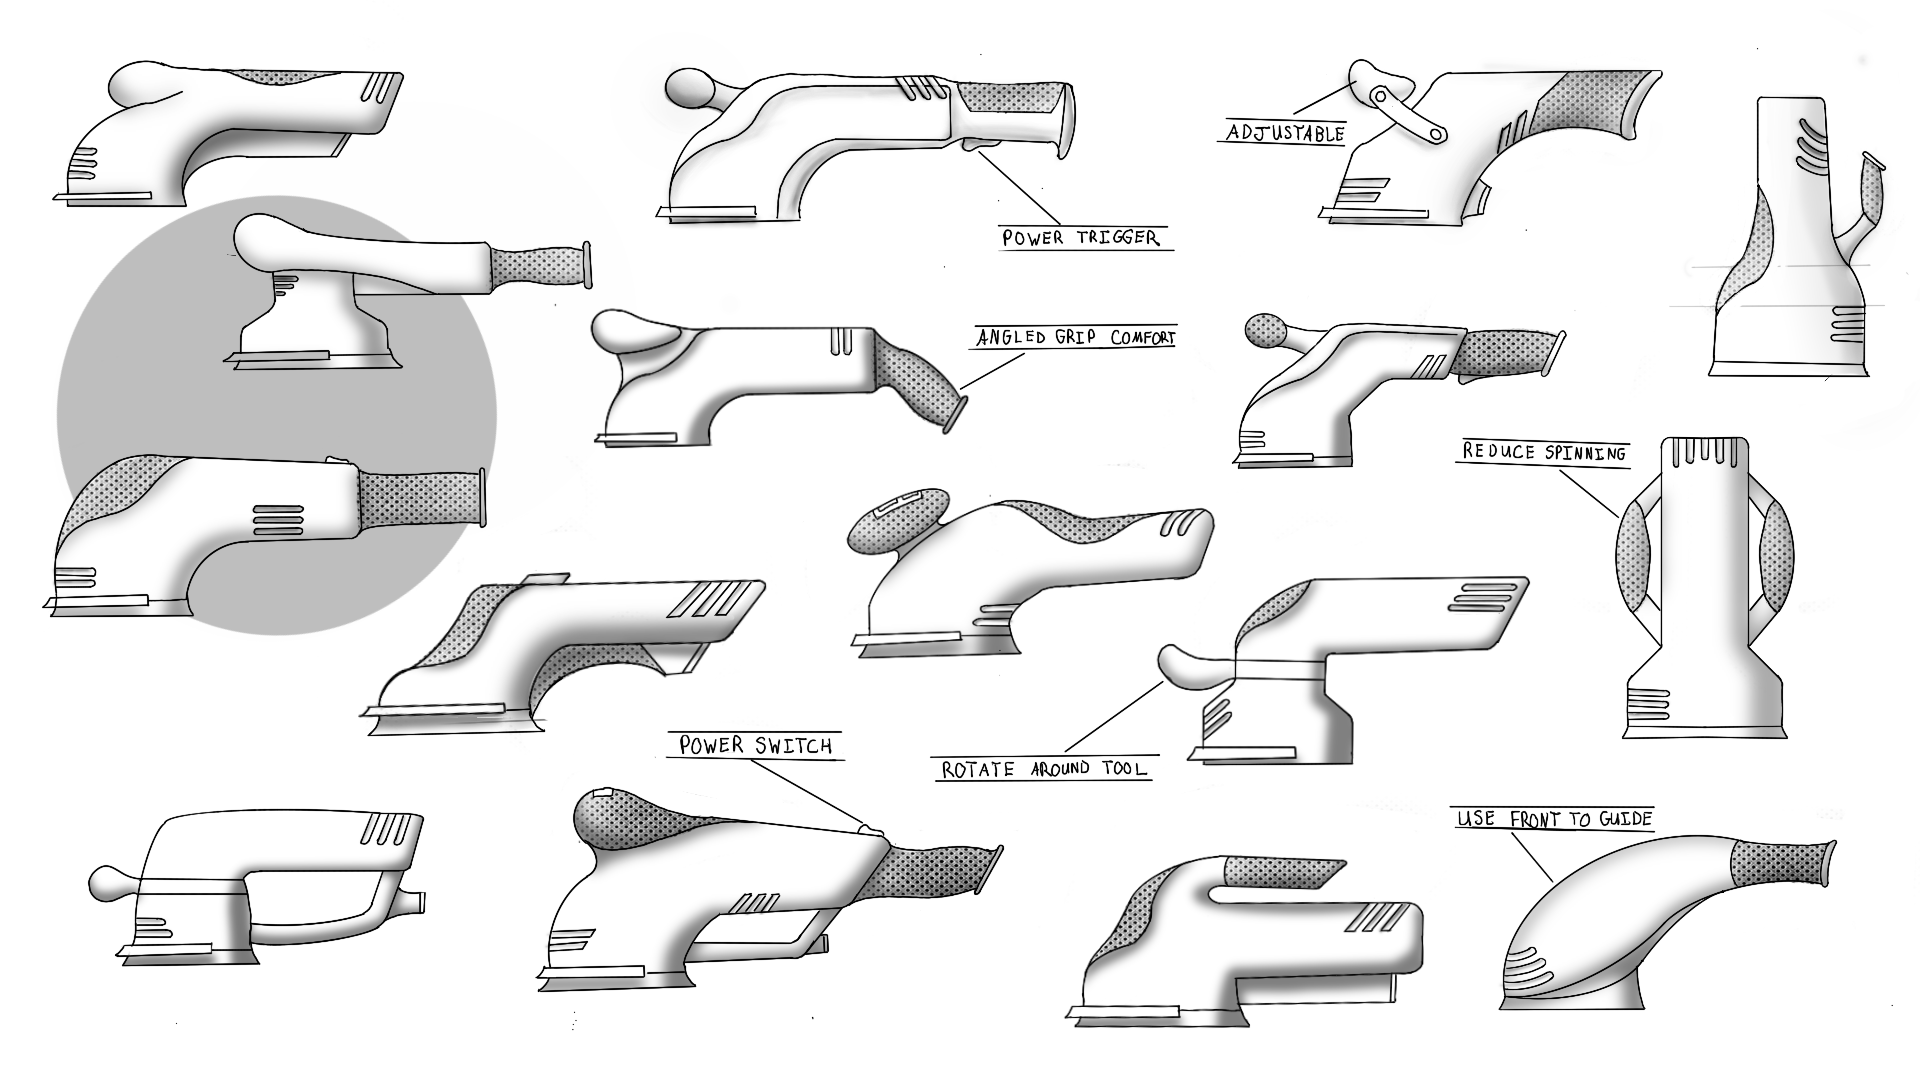
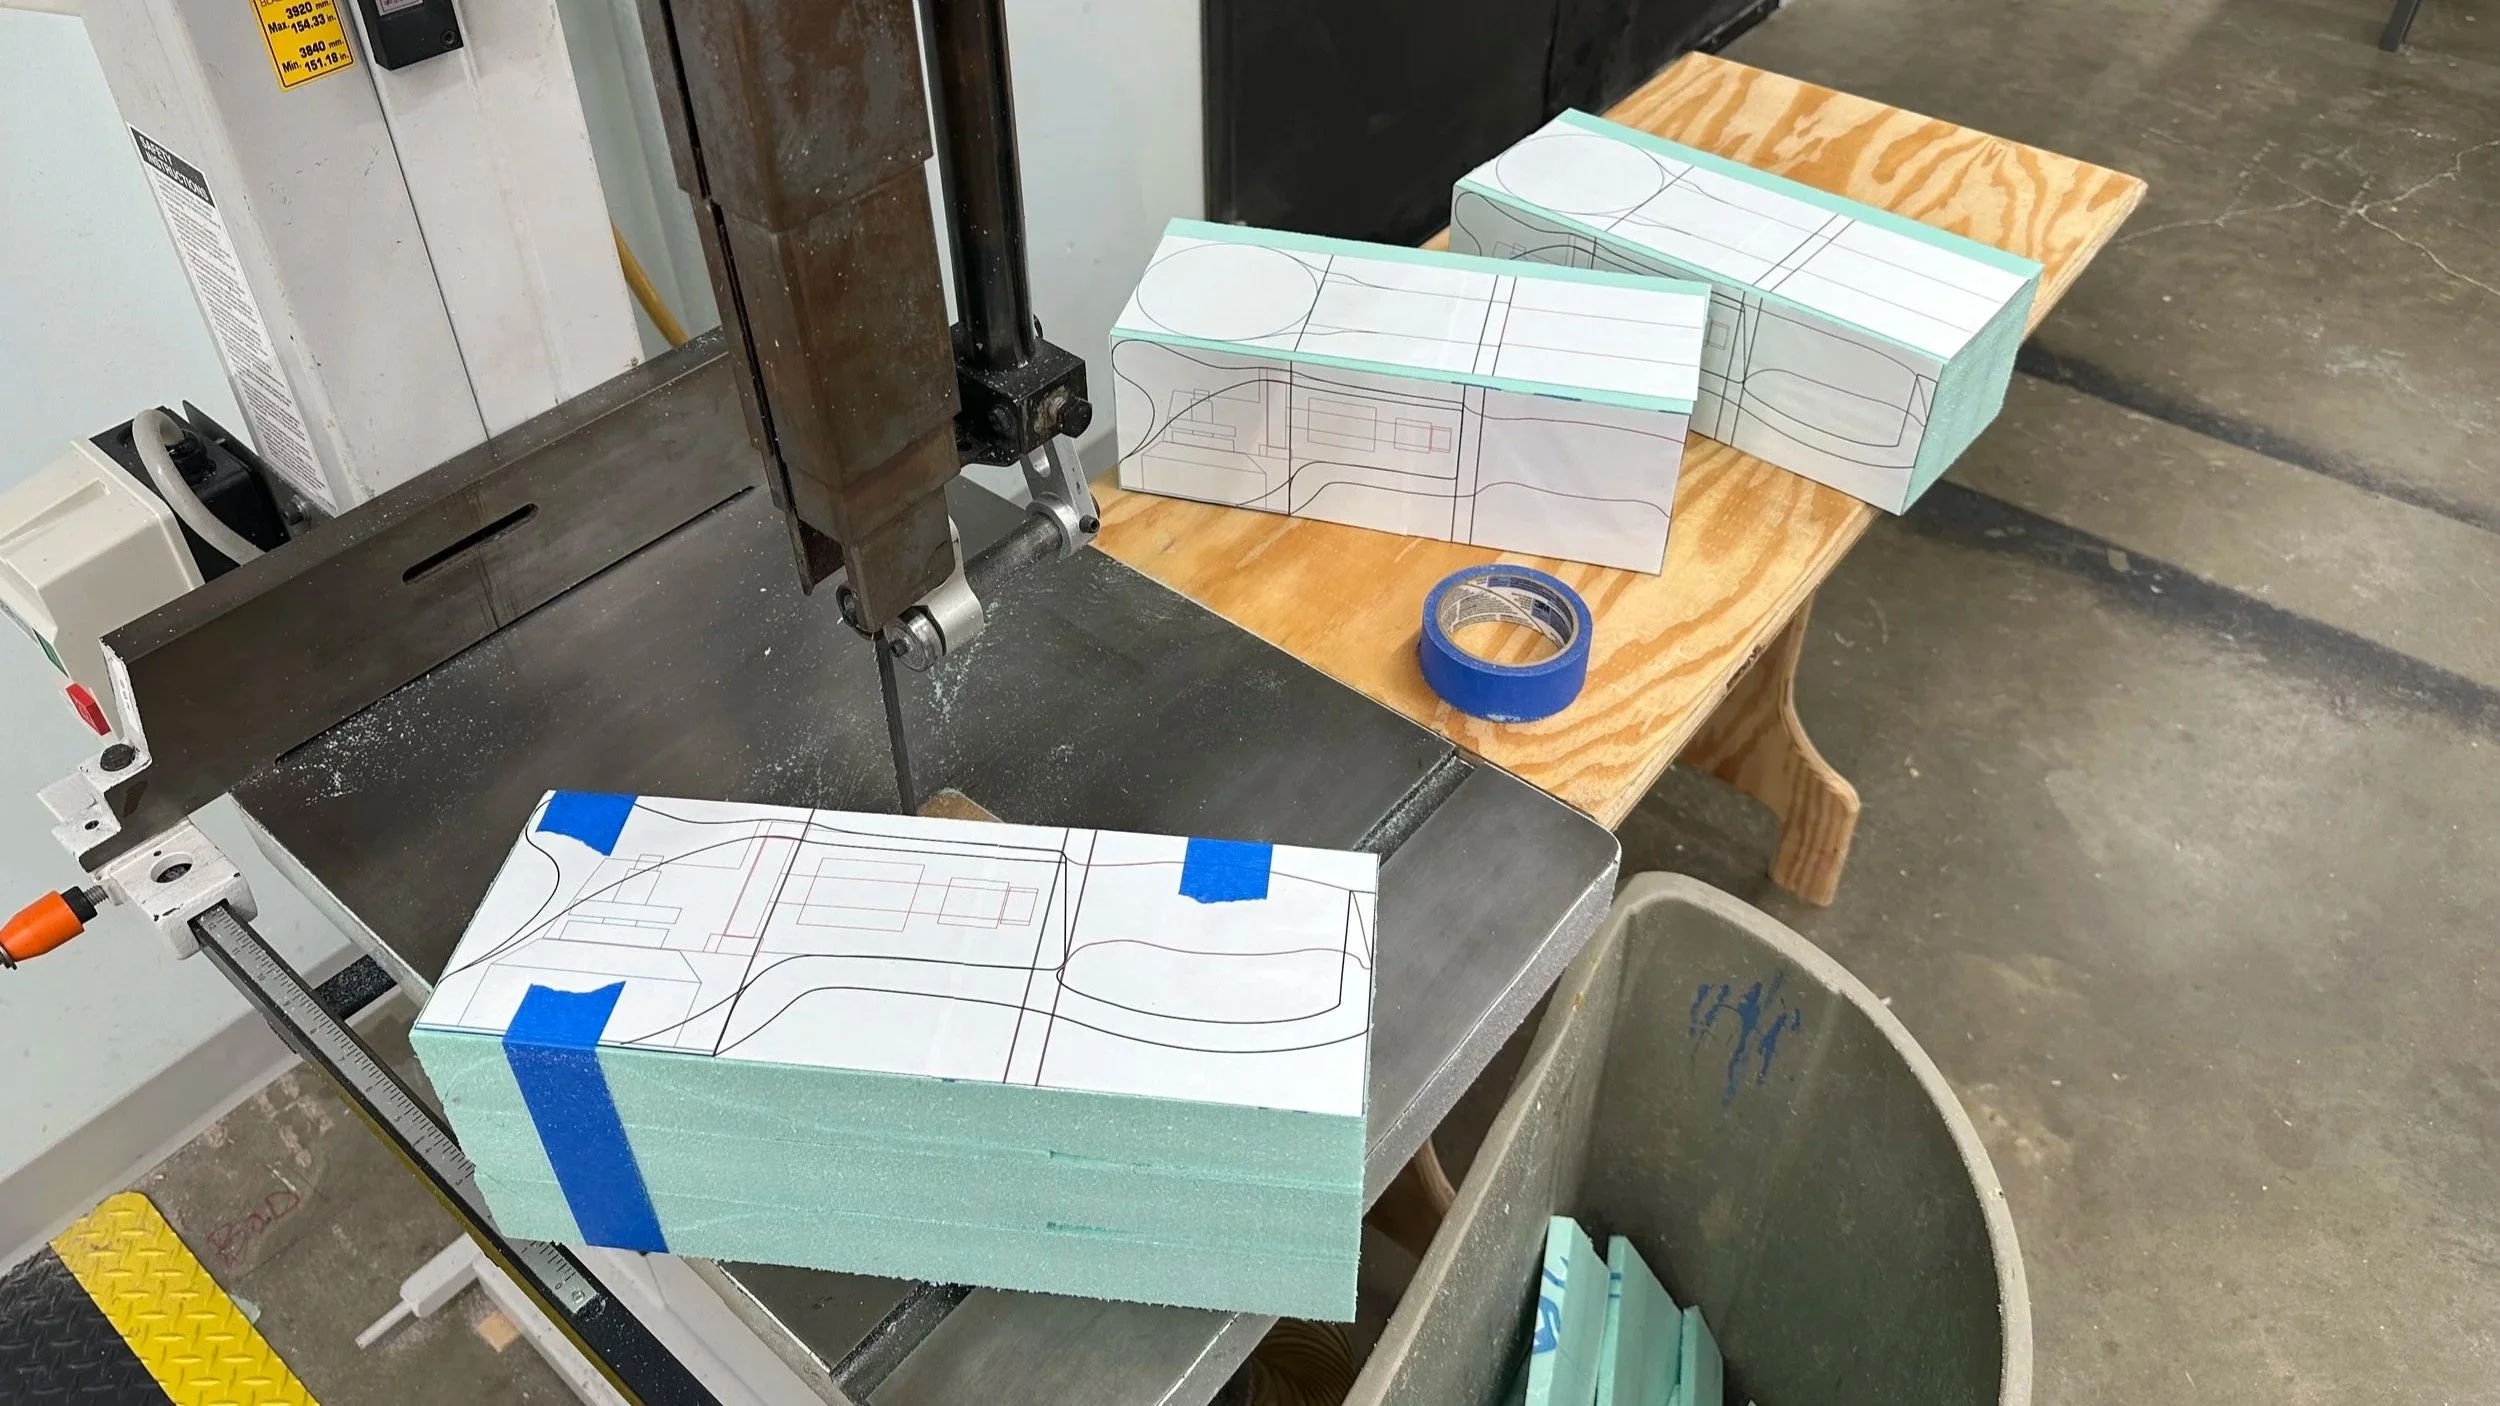
Ideation Sketching
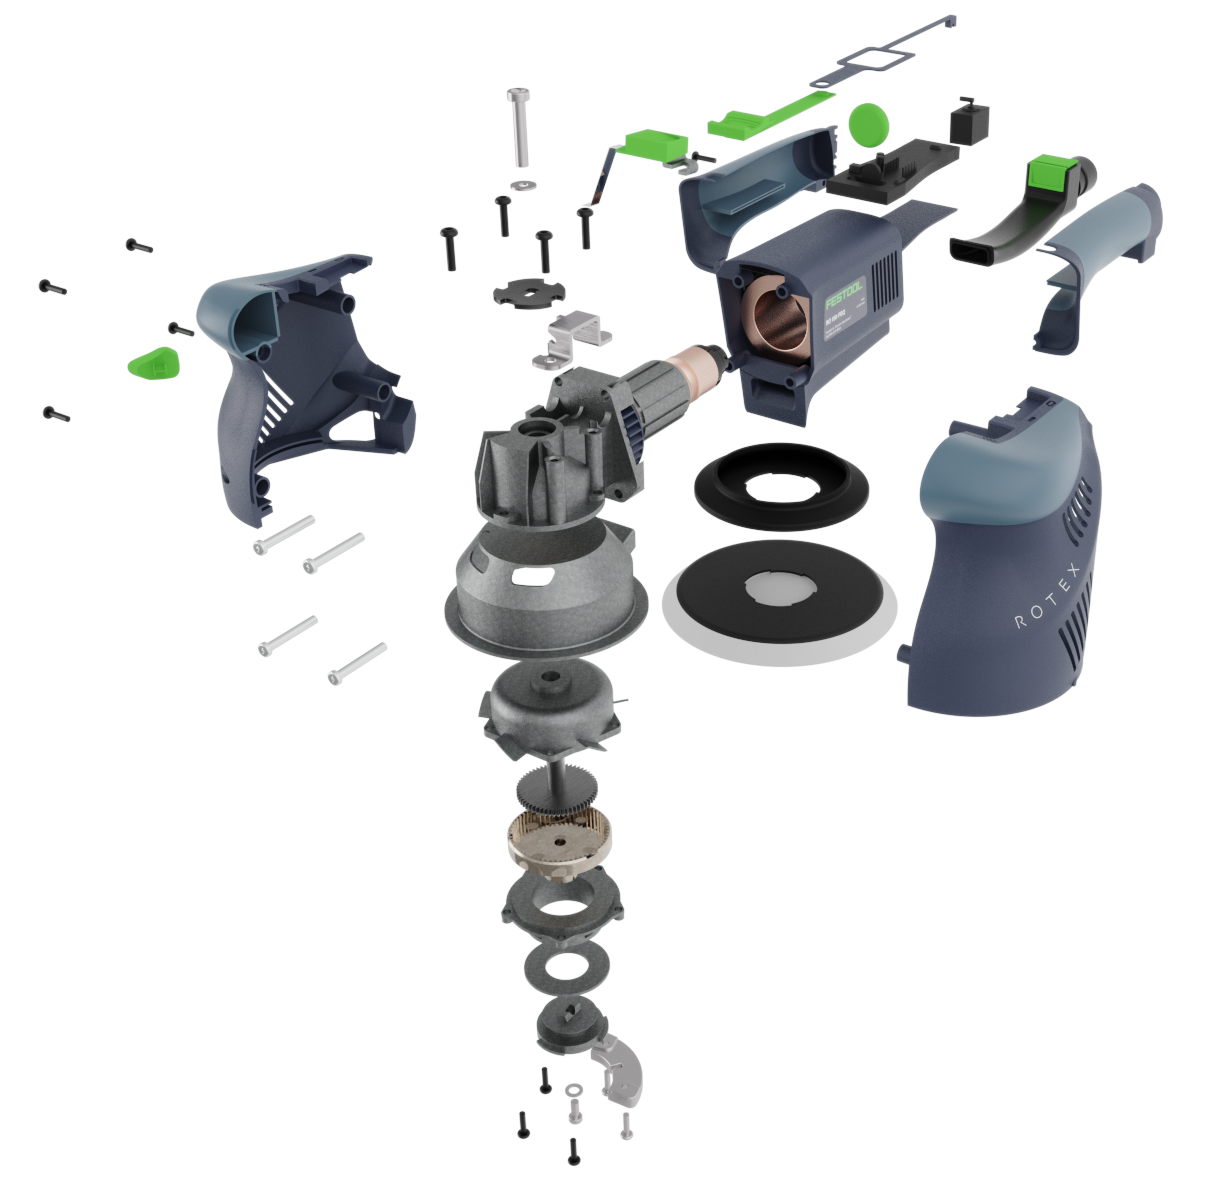
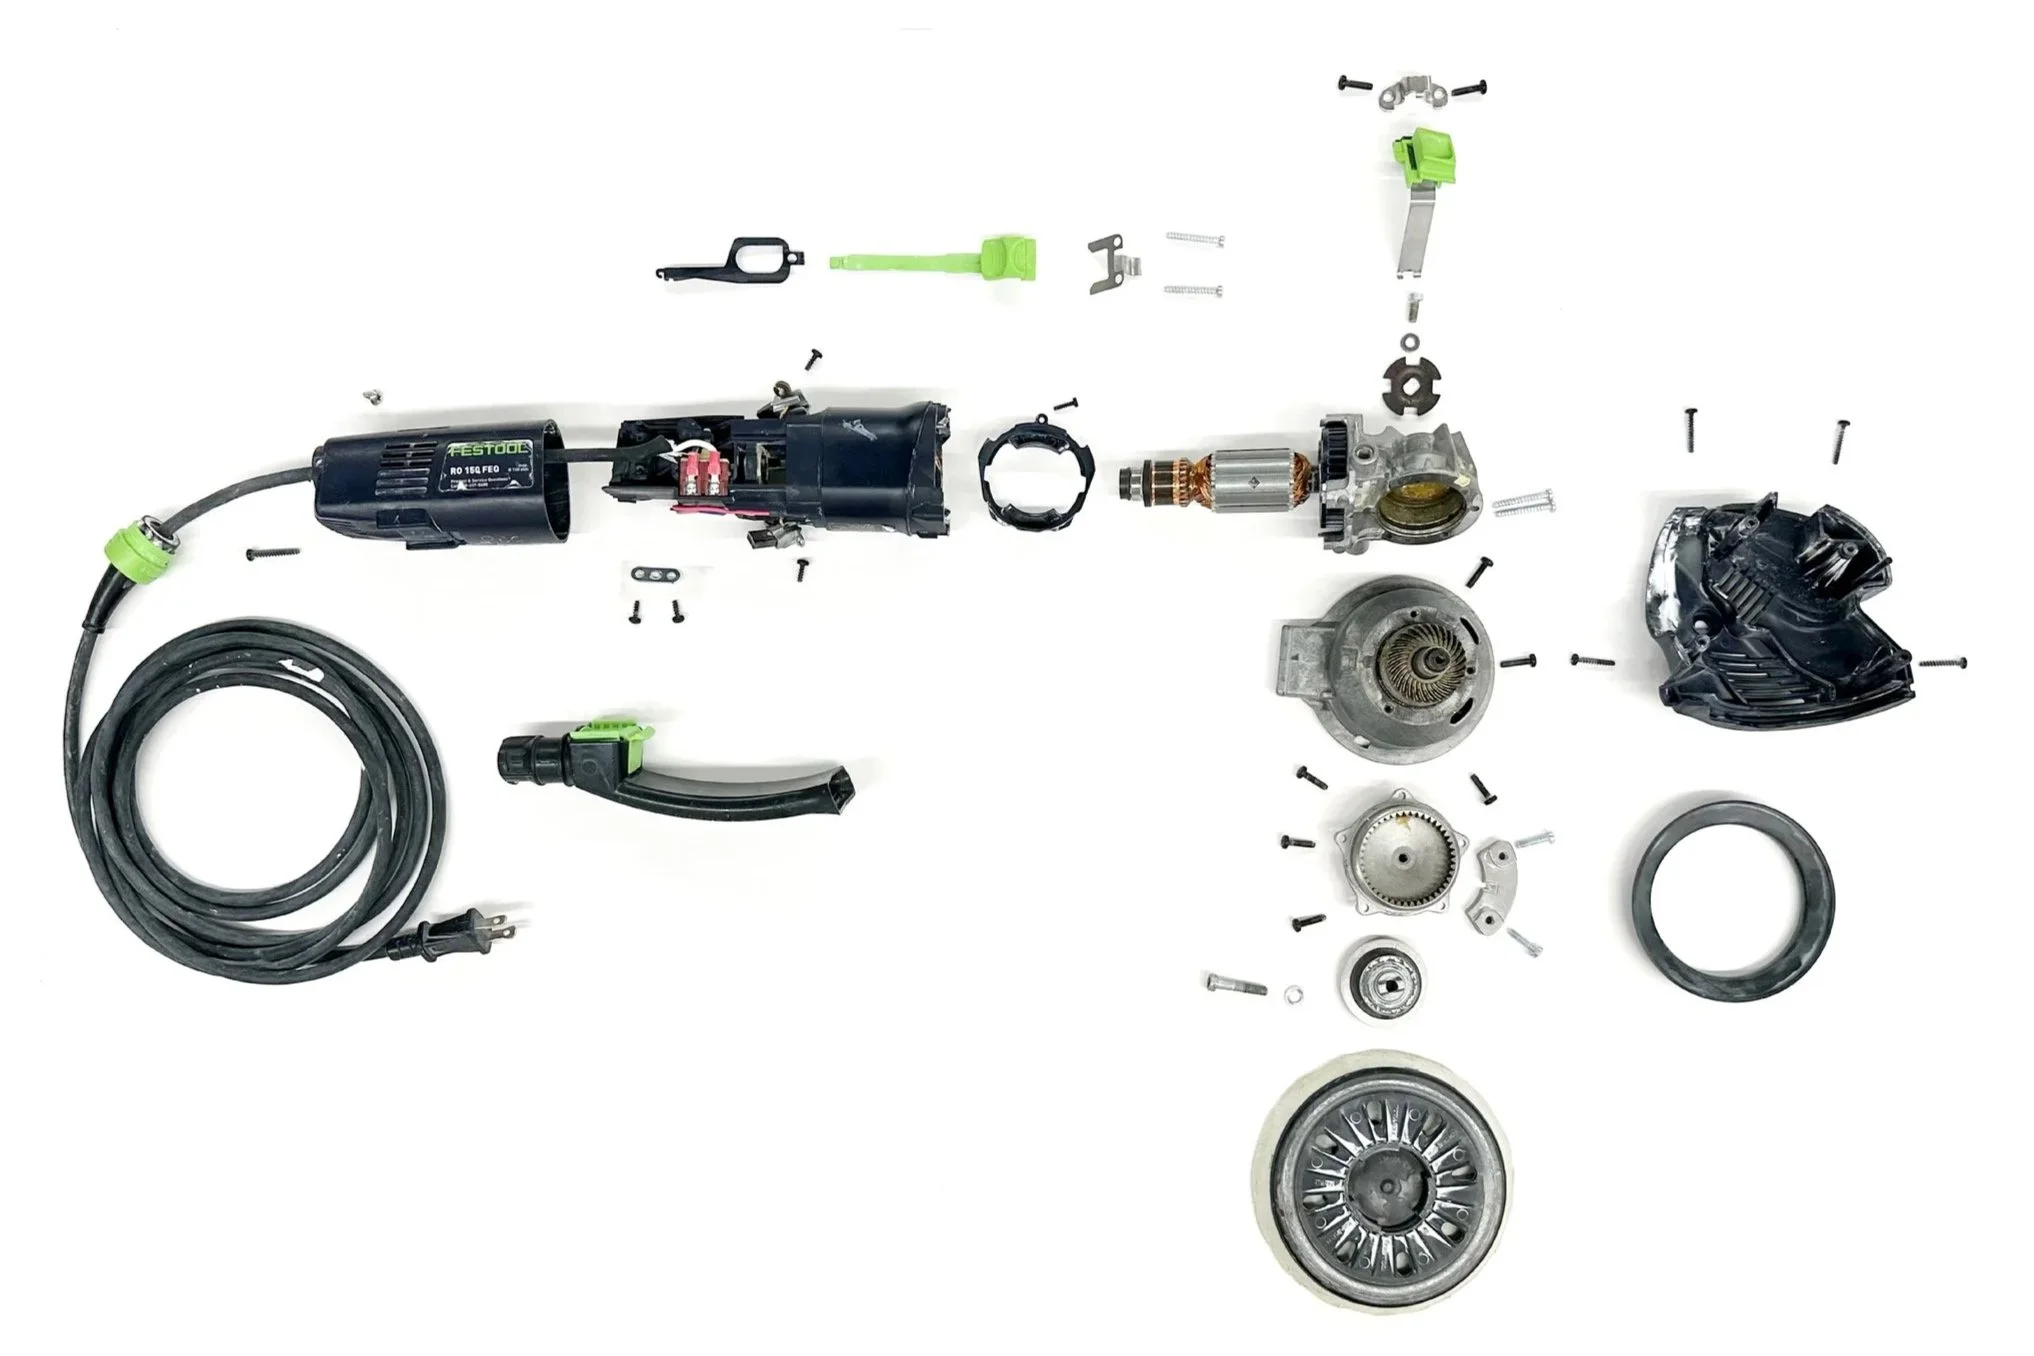
I disassembled a Festool Rotext to understand the current design. During the teardown I realized that the back “handle” was almost entirely a motor. That explained its large size and why it’s not intended to be a handle. The handle could heat up over extended use. I also gained an understanding of how the tool switched between the two sanding modes. This helped me understand what features were necessary, and how to reposition the necessary internals and what space could be redesigned.
Product Teardown
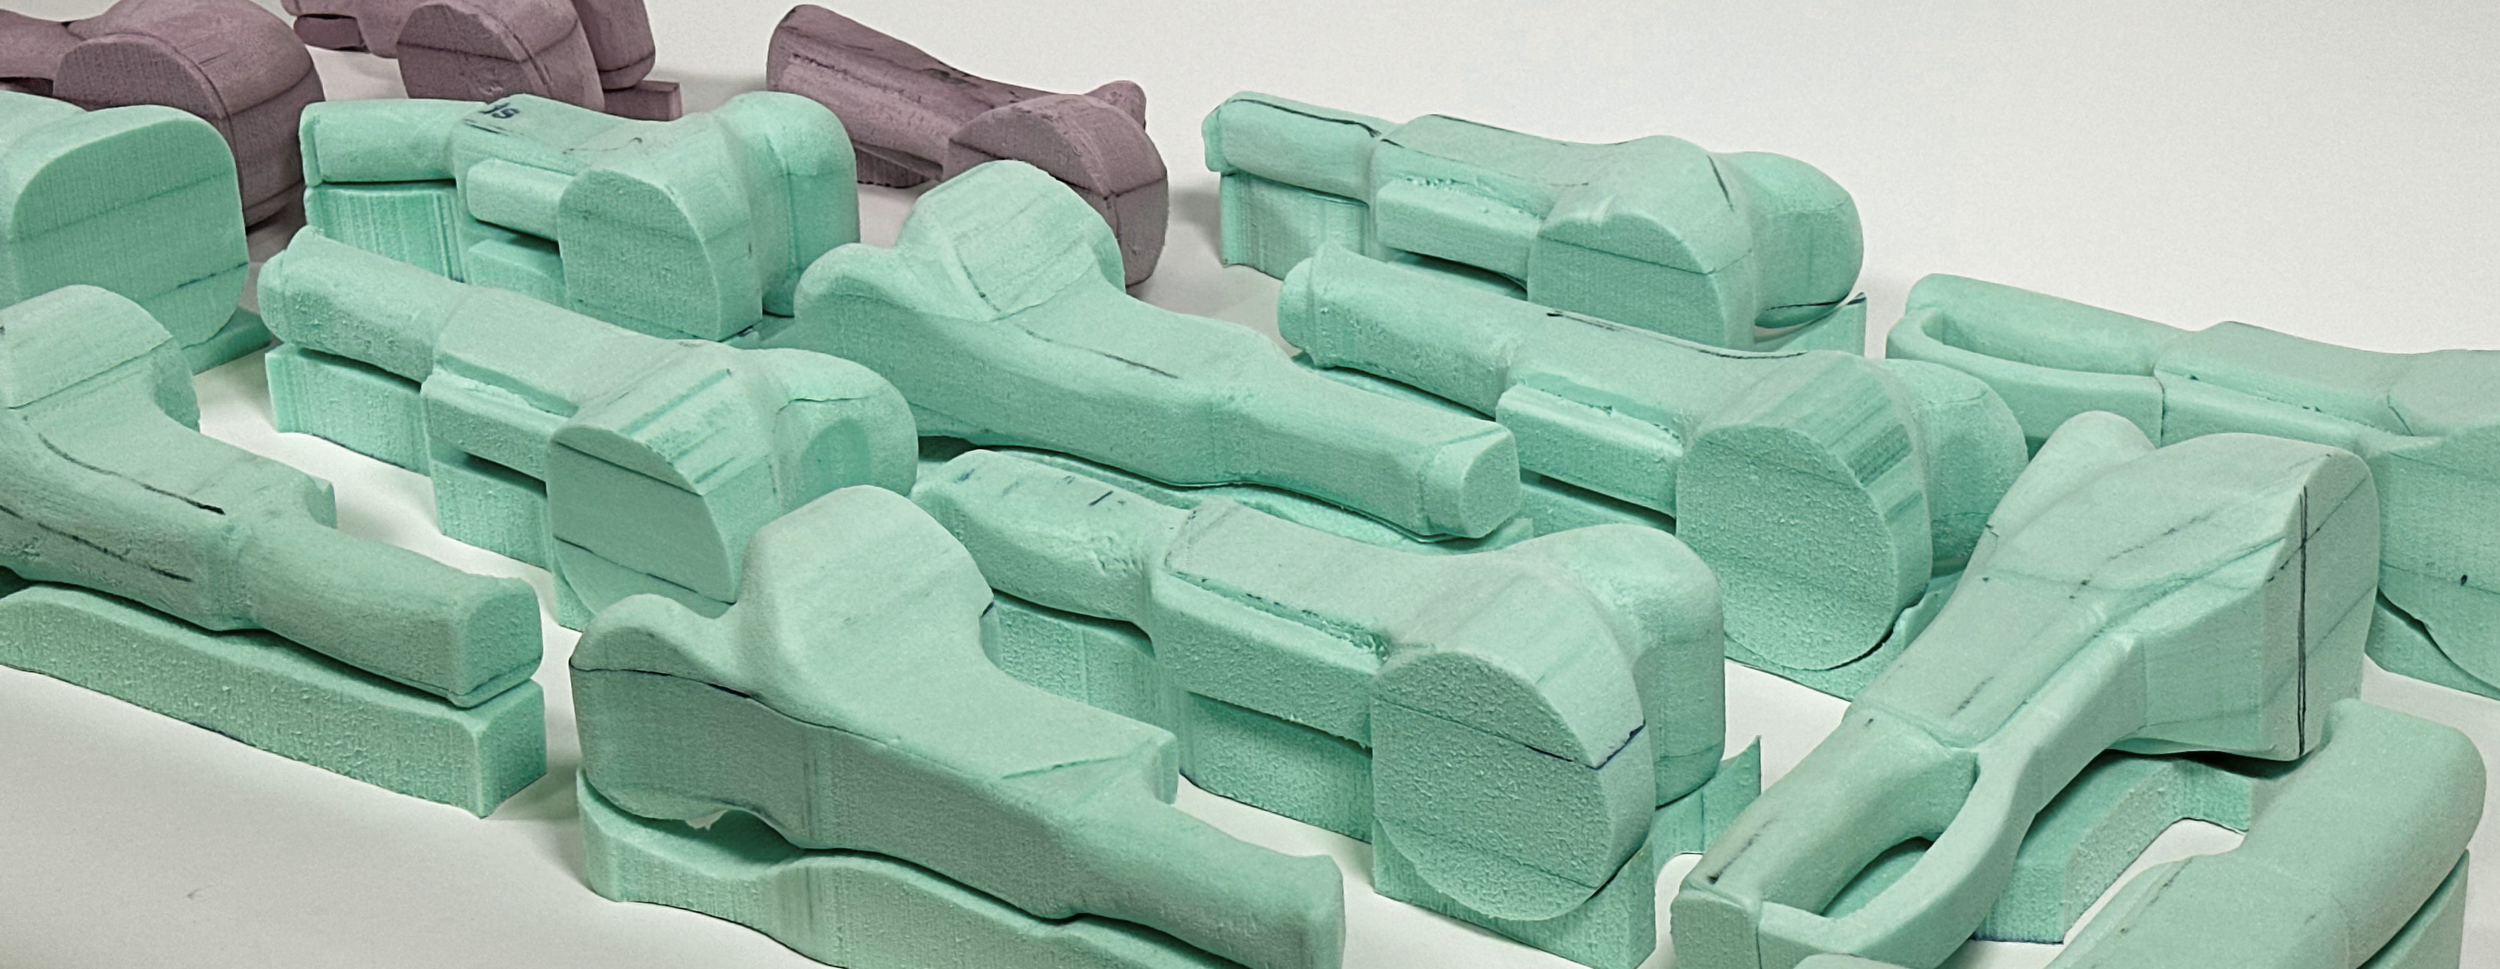
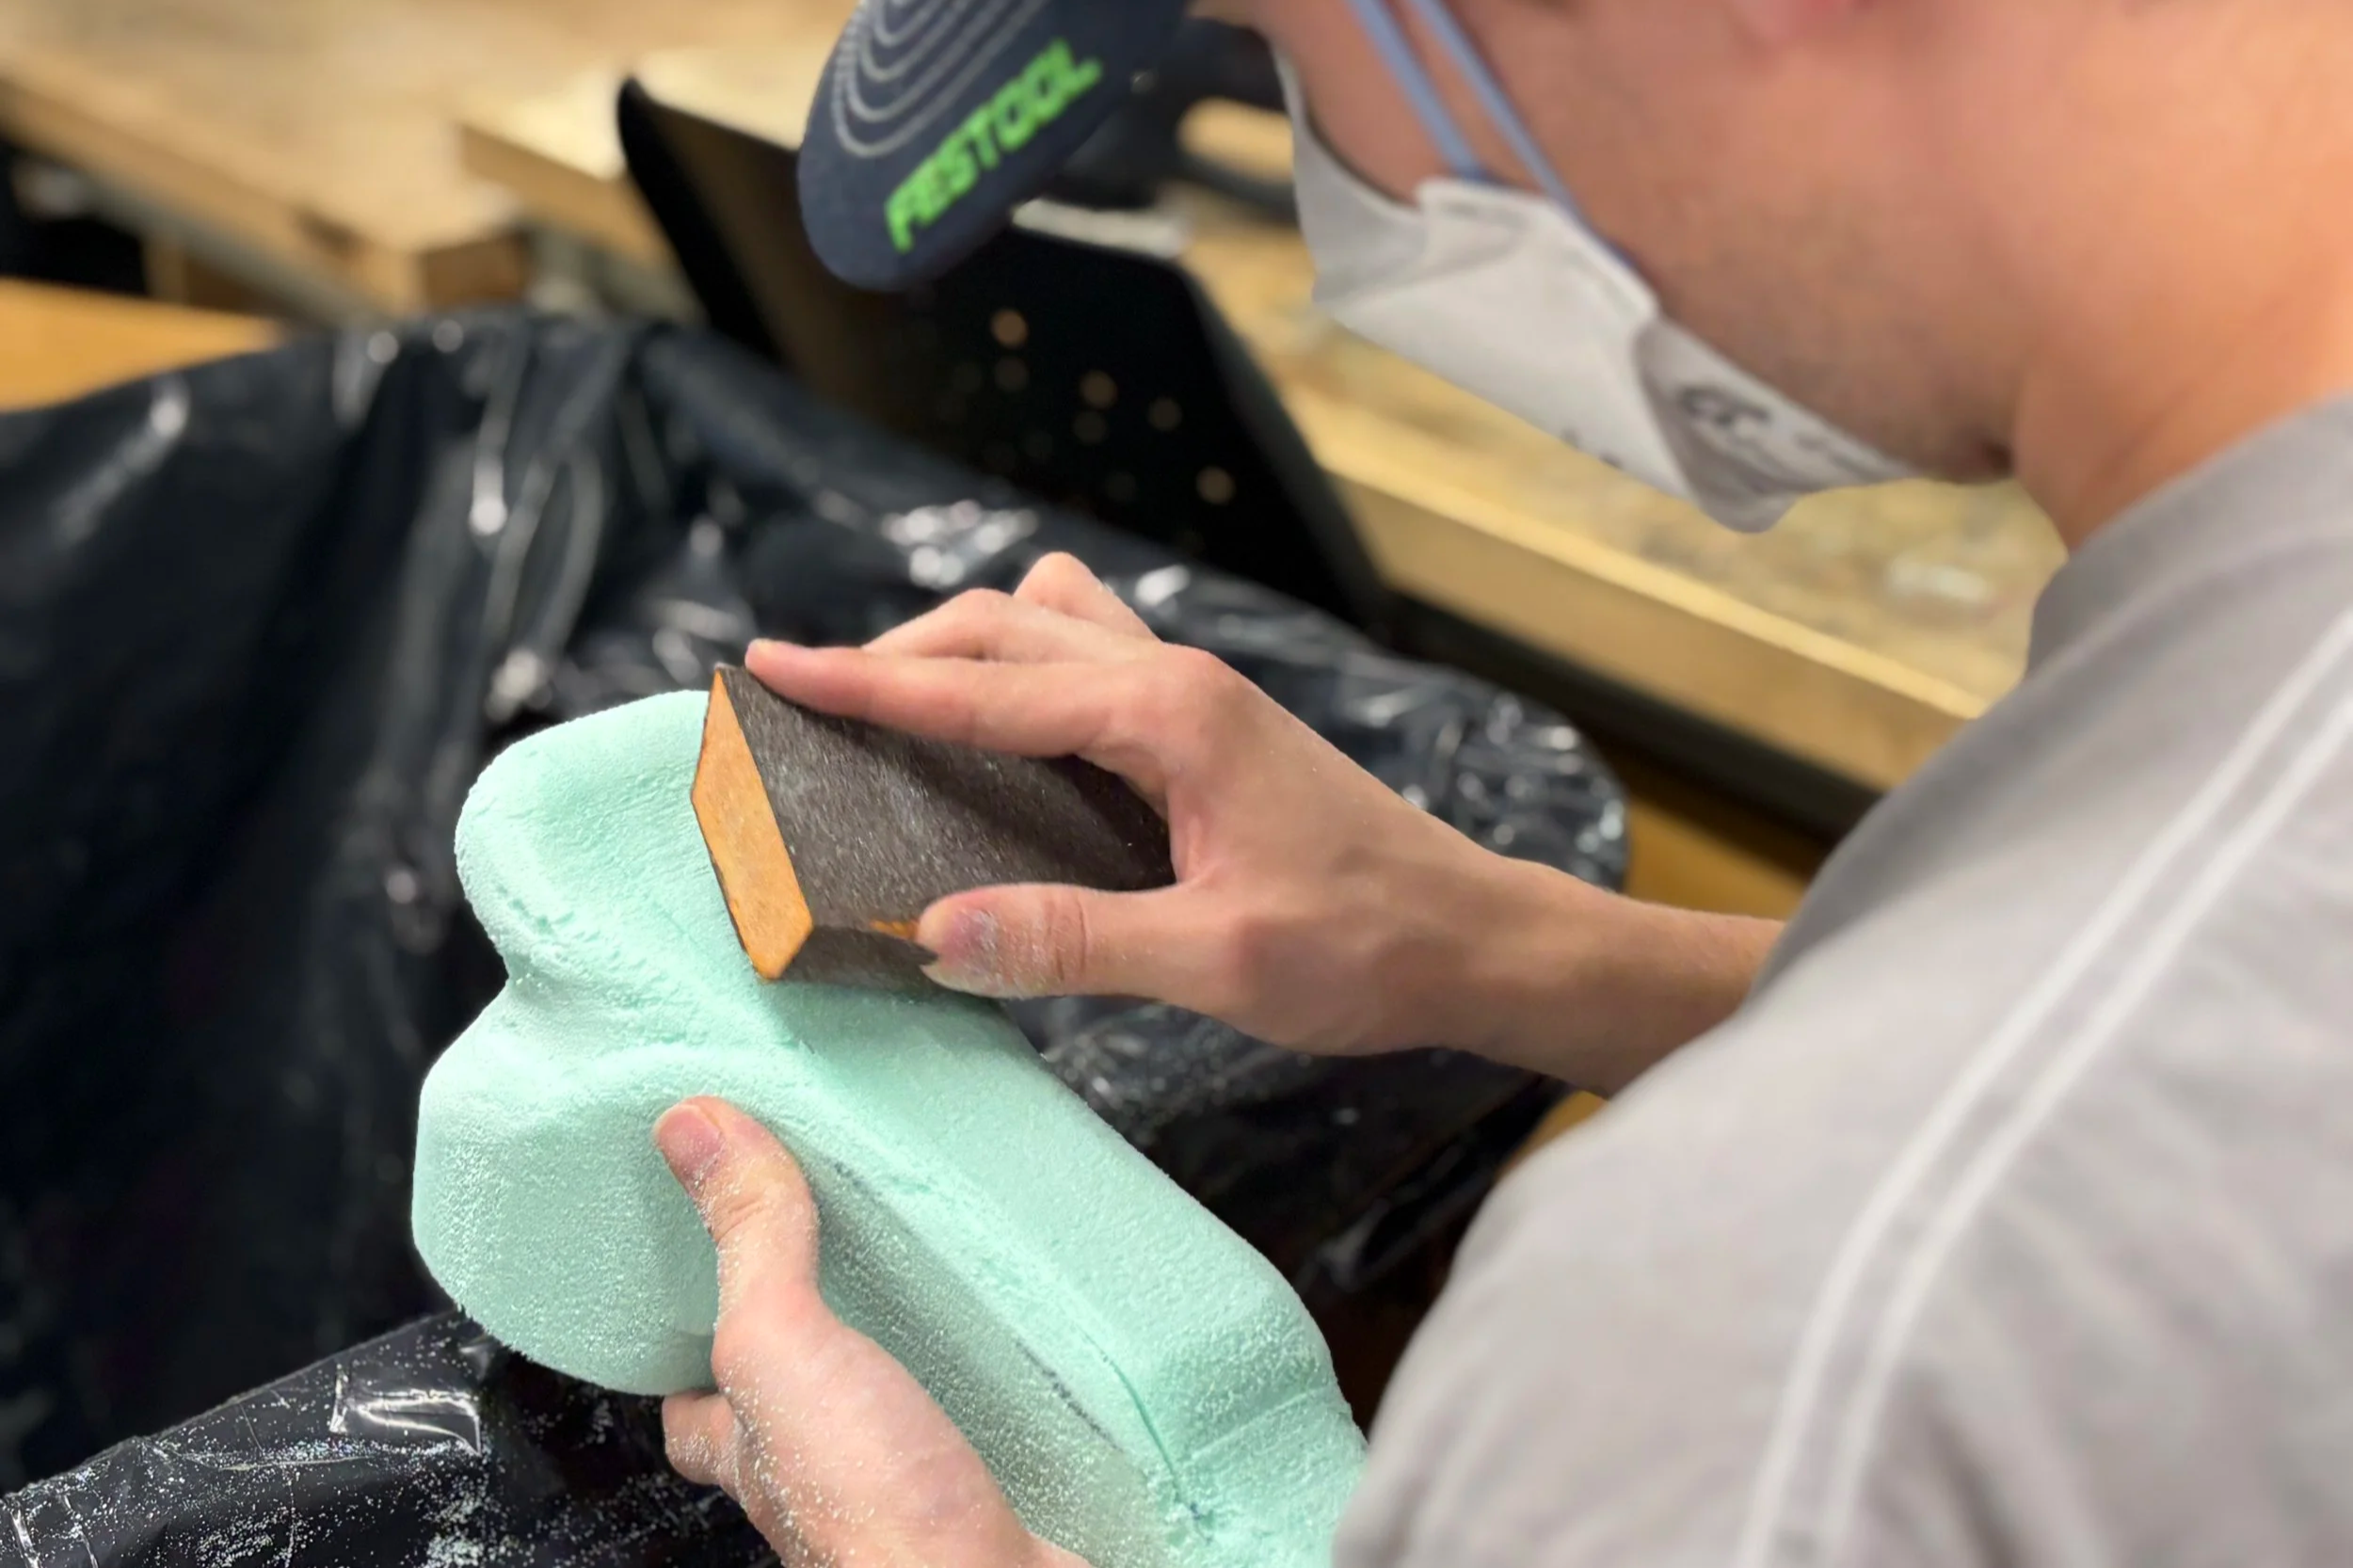
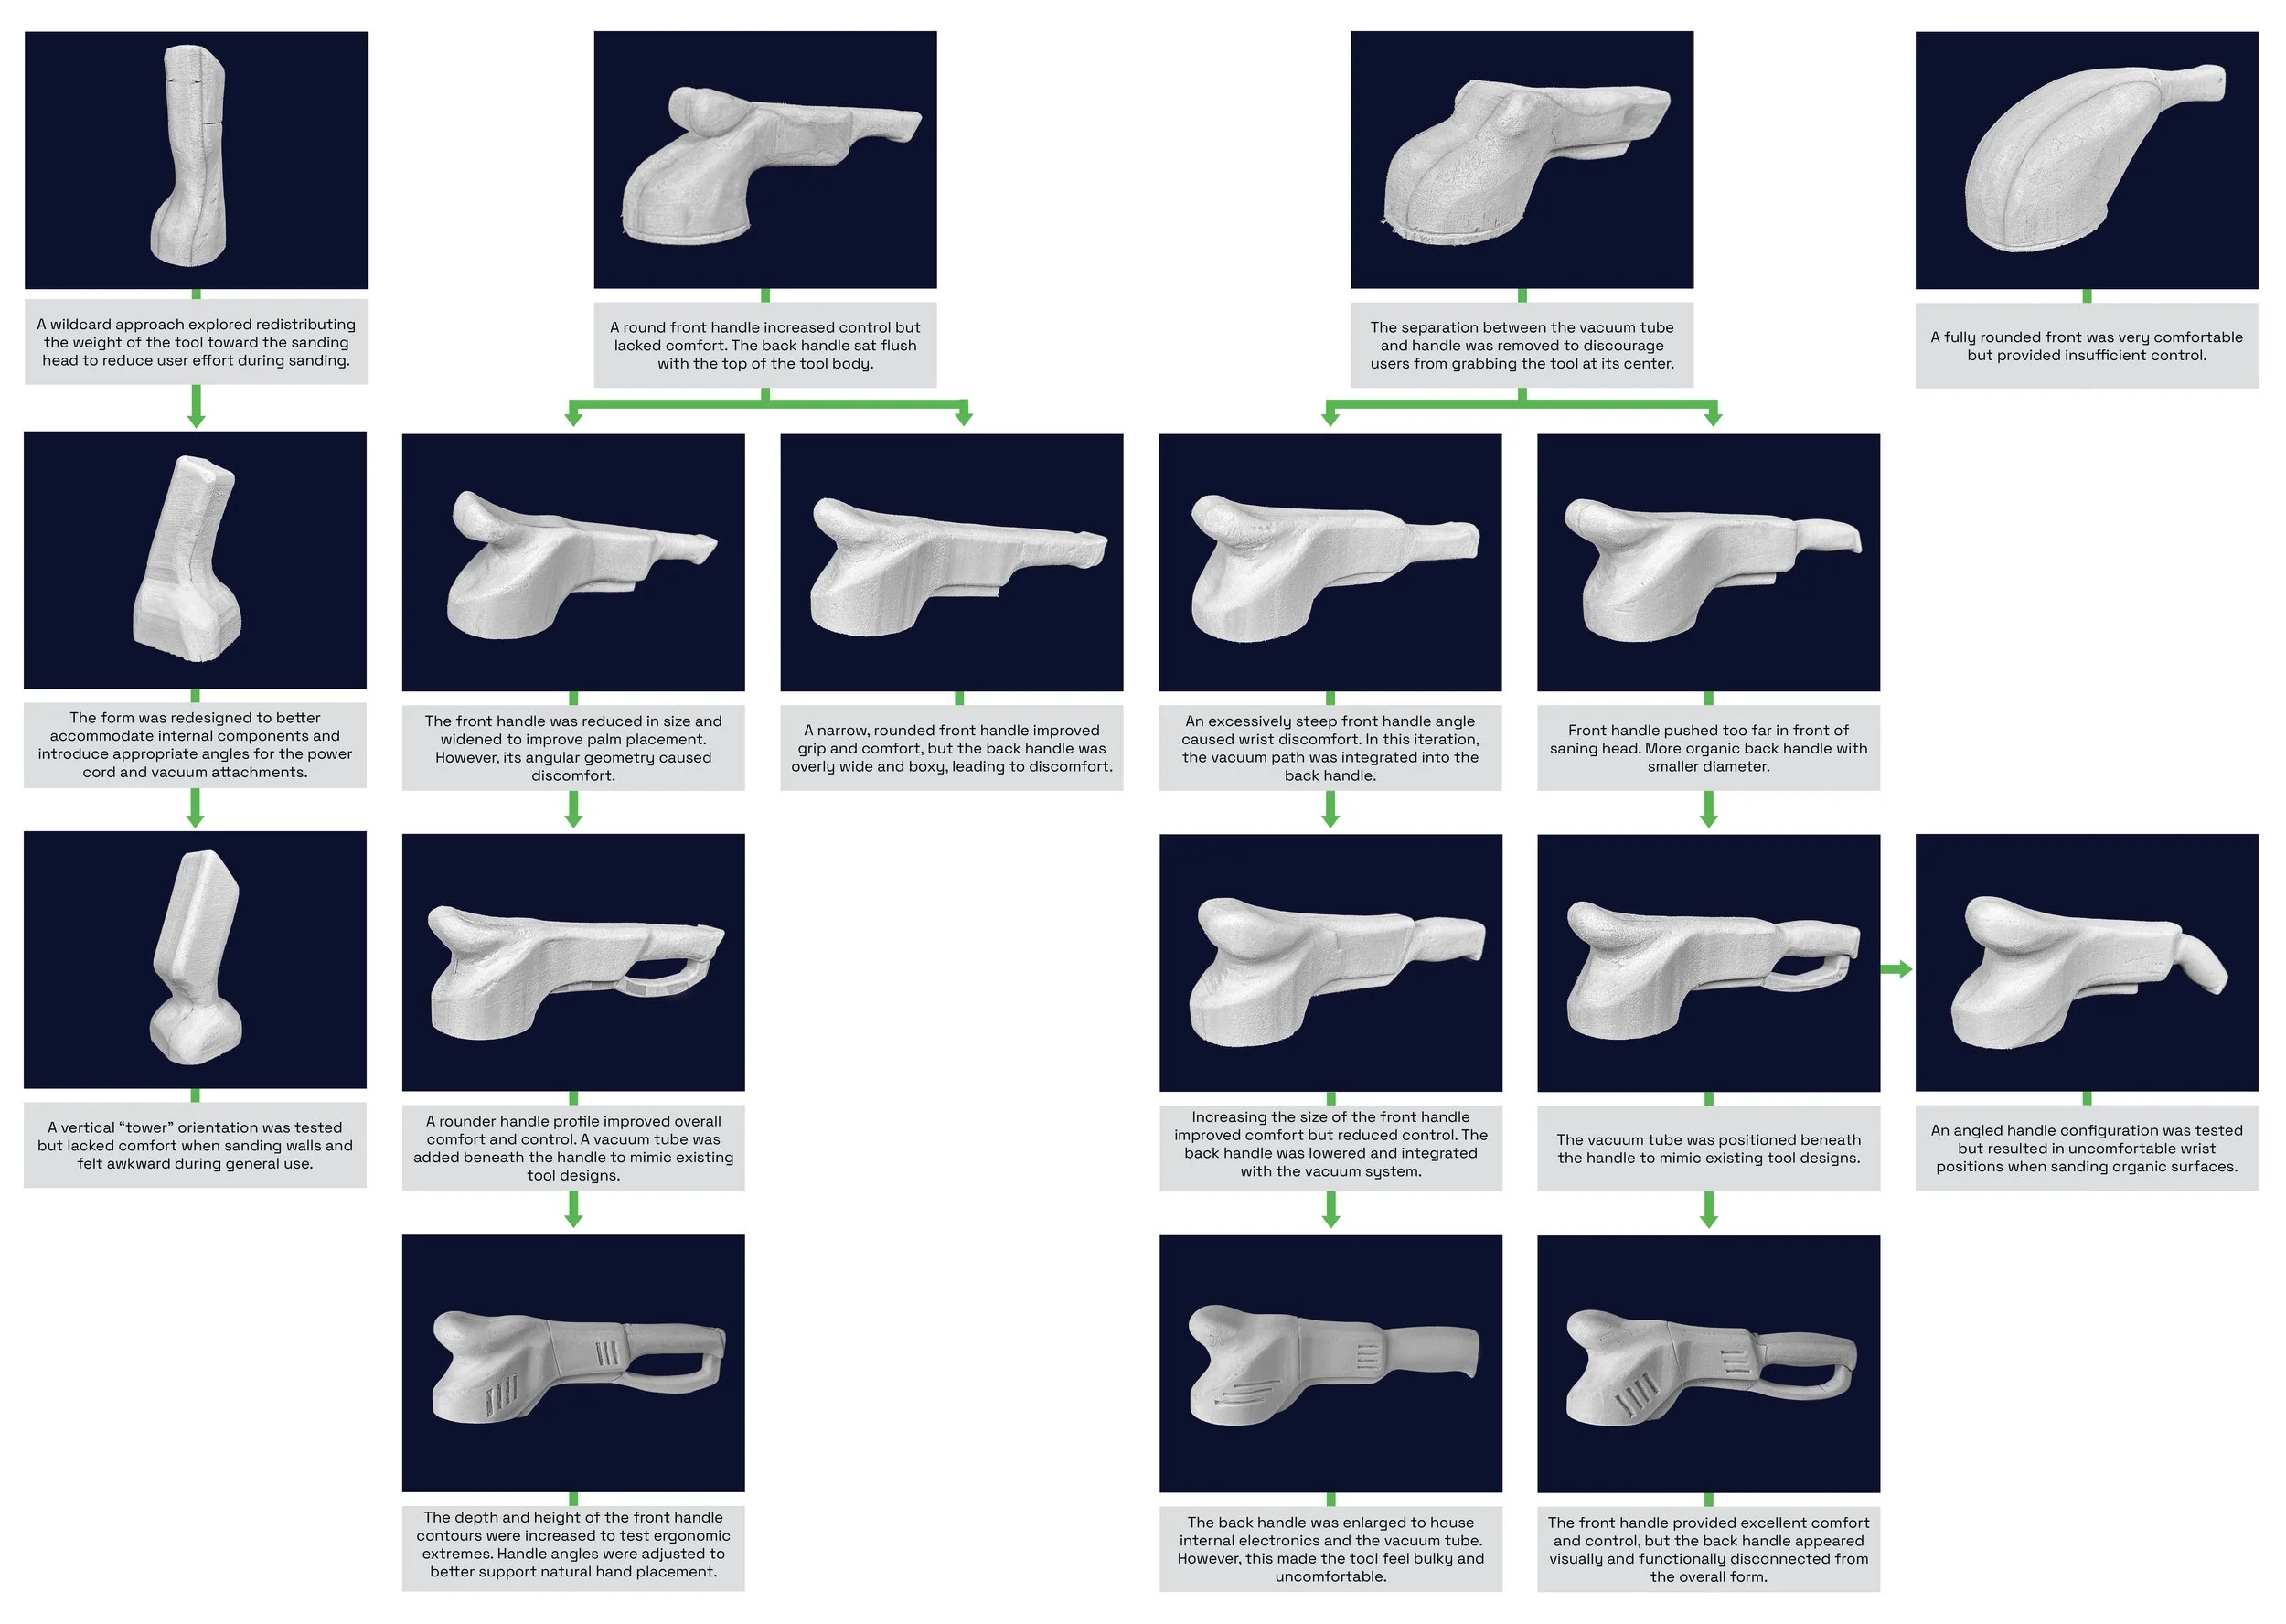
The foam iterations allowed me to experiment with different handle designs. The models gave me the opportunity to experience my designs of the handles to test what would improve the ergonomics.
Foam Explortaion
Vacume Intergration
Tower Design
Primary Front Grip
Round Front
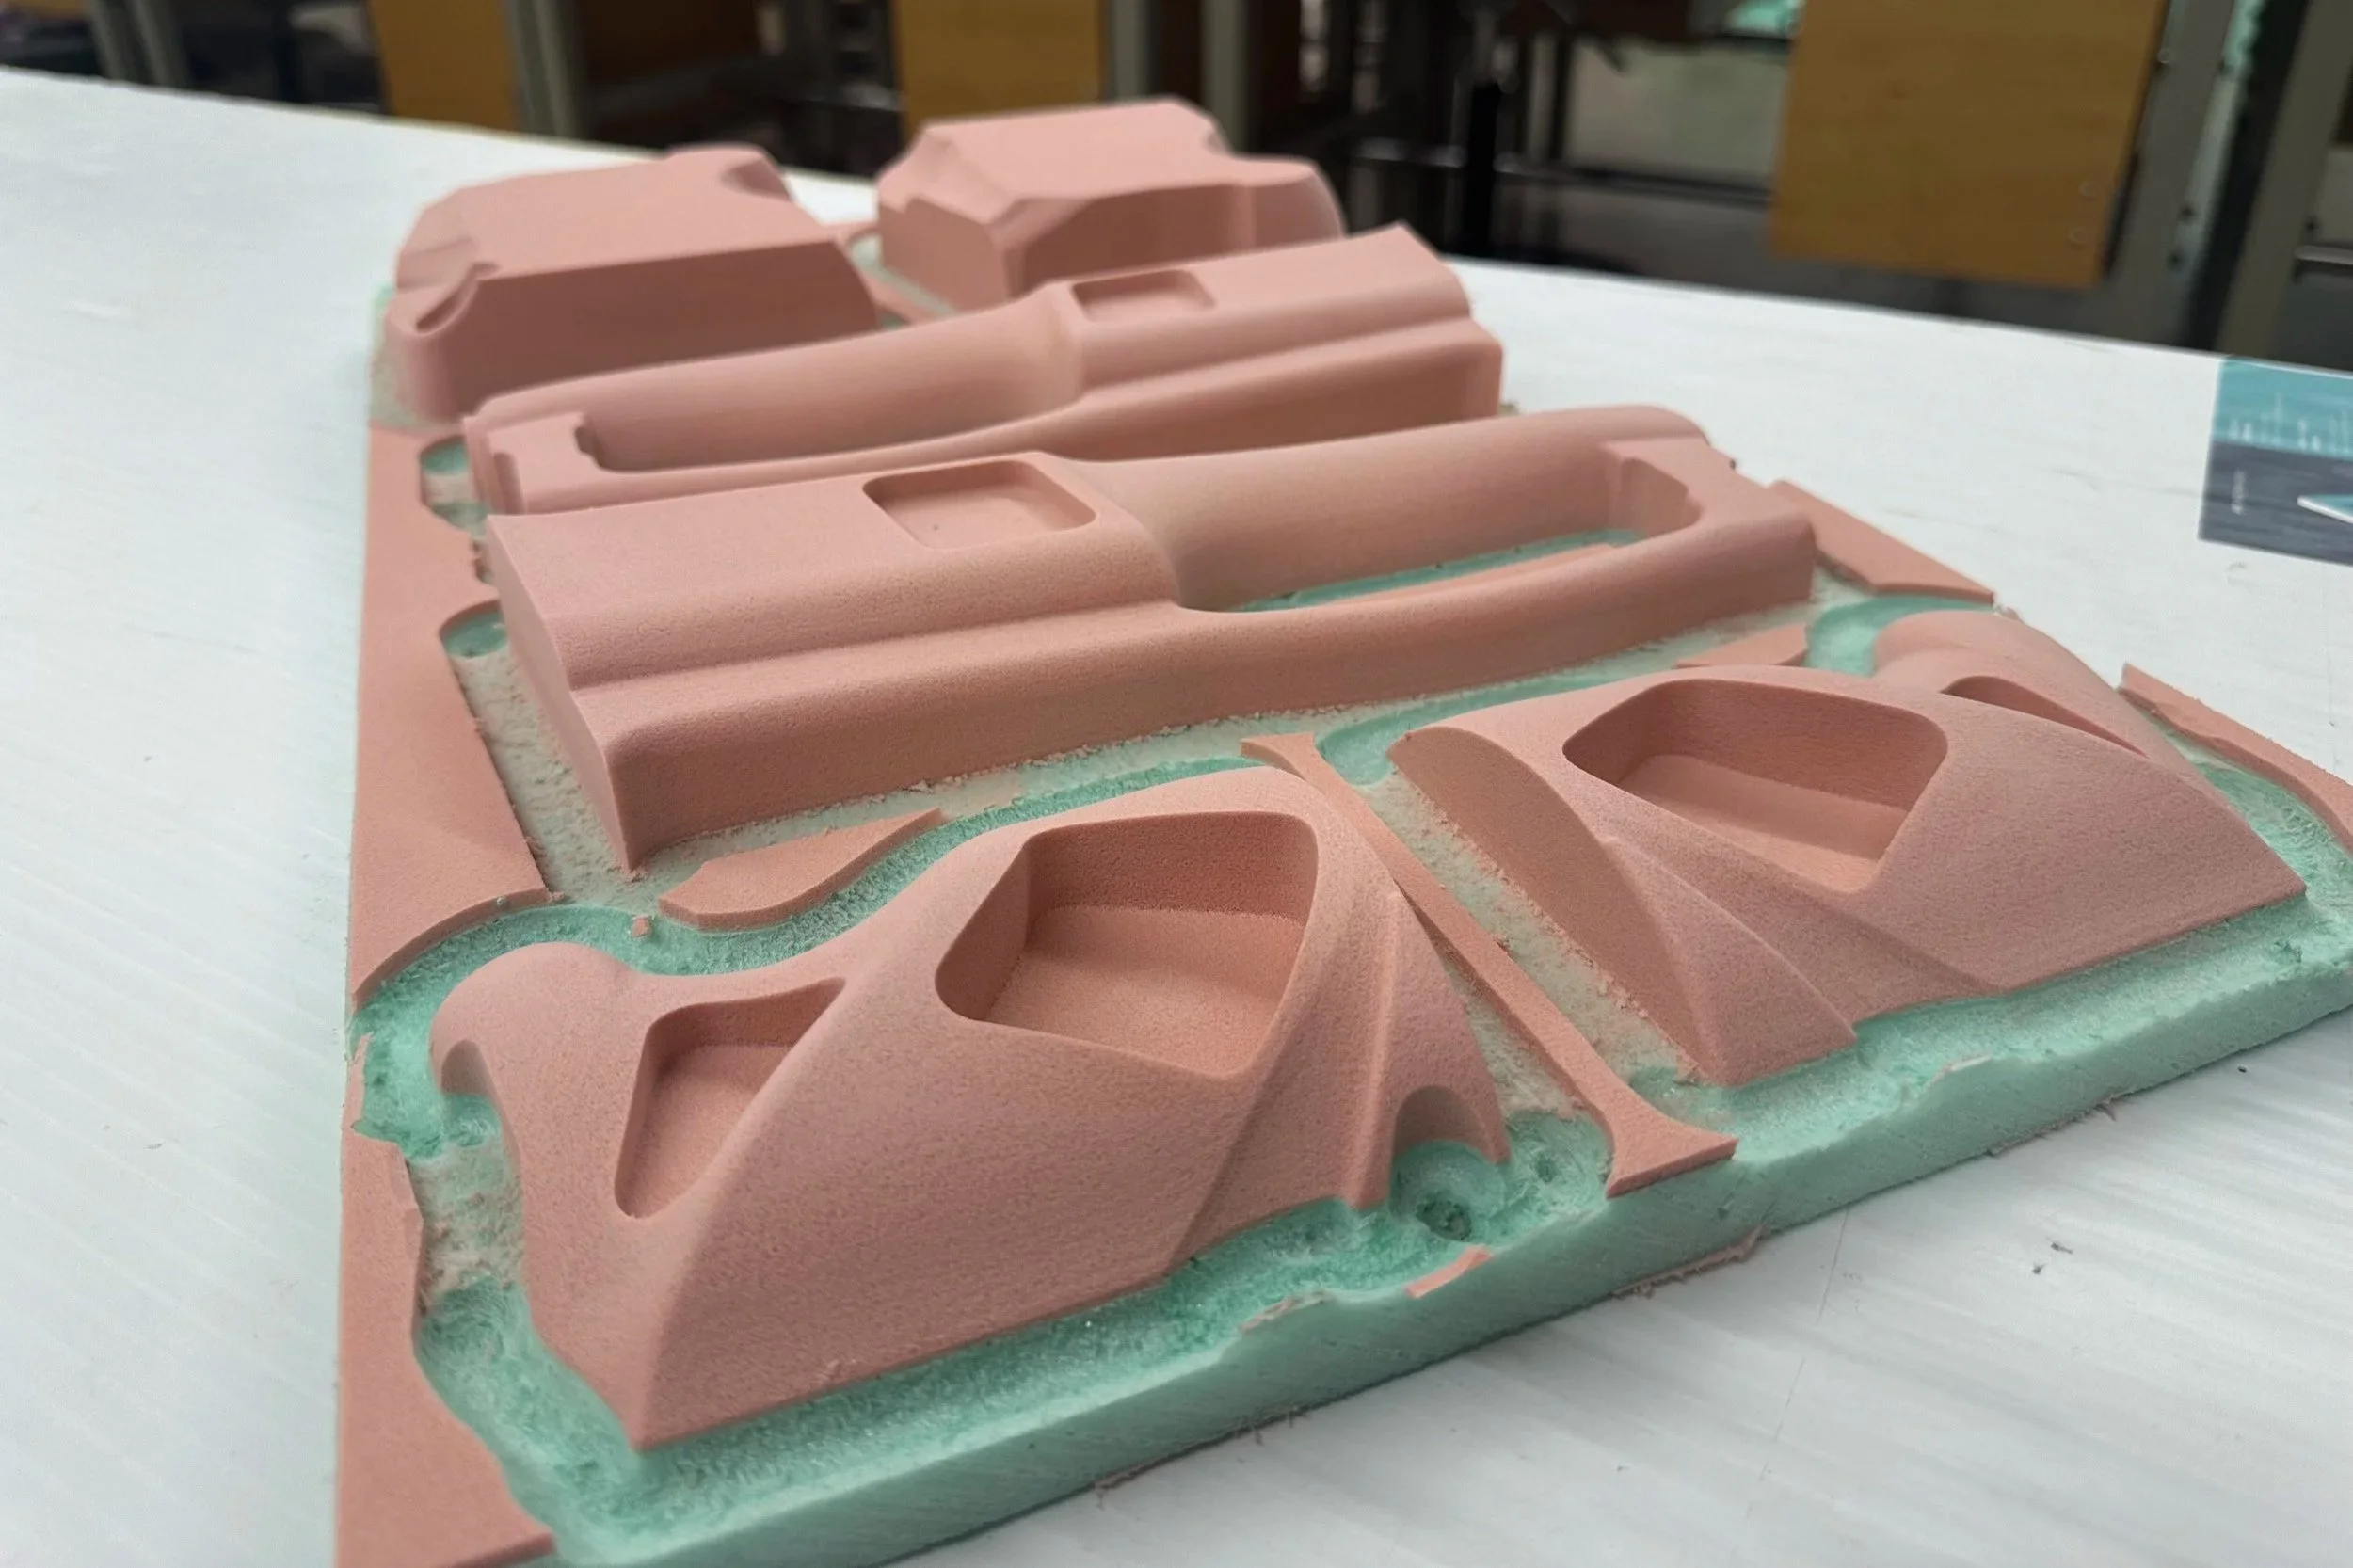
Creating the Final Model
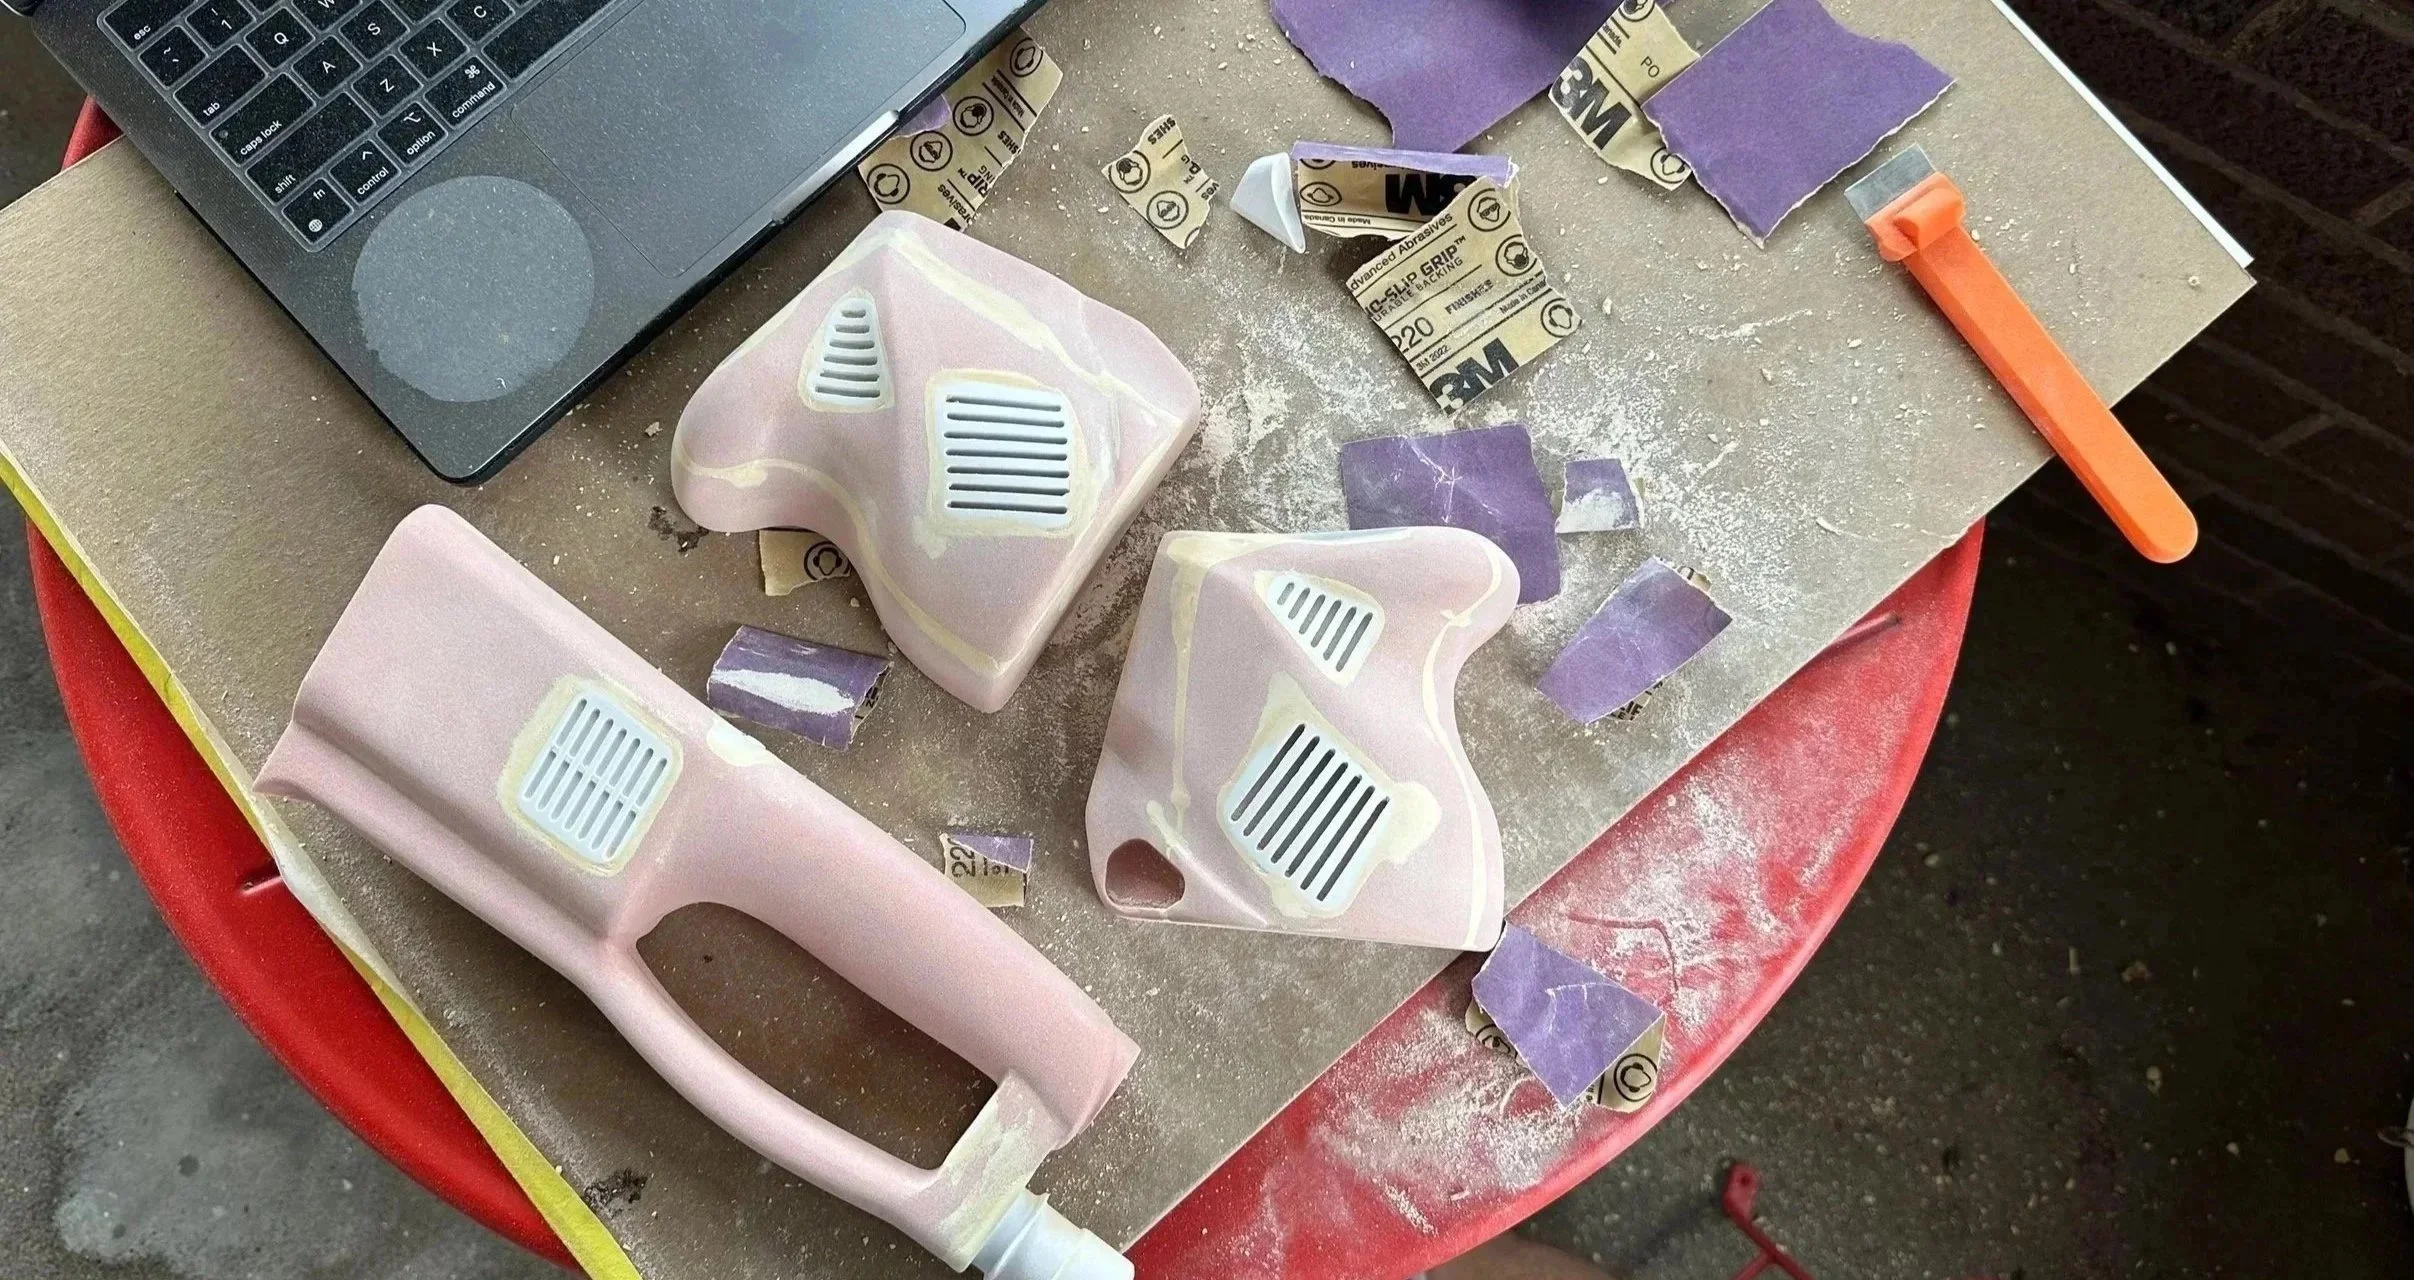
To create my final model, I had to produce a CAD file for the CNC machine to cut the main body of the design. Then the detailed parts were 3D printed. Using wood filler and car paint primer, I assembled the pieces to make a seamless final model.
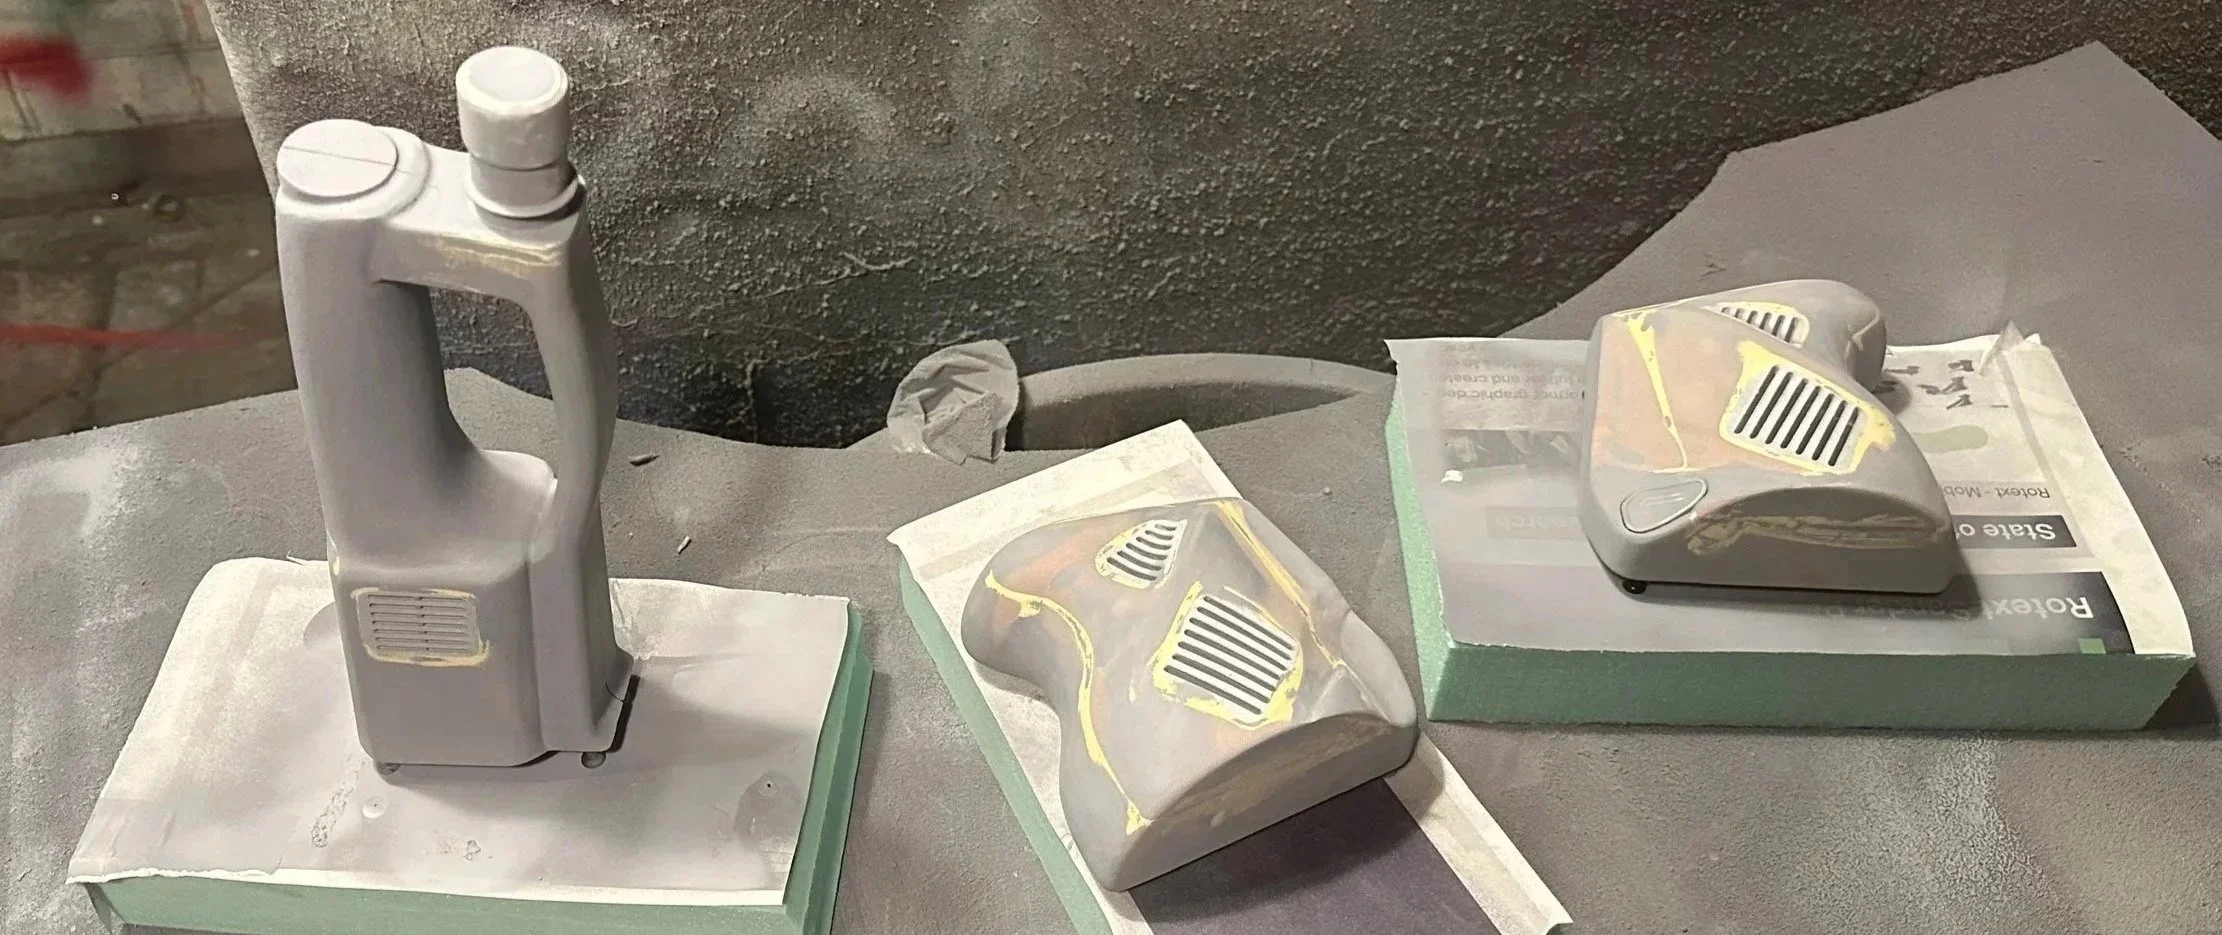
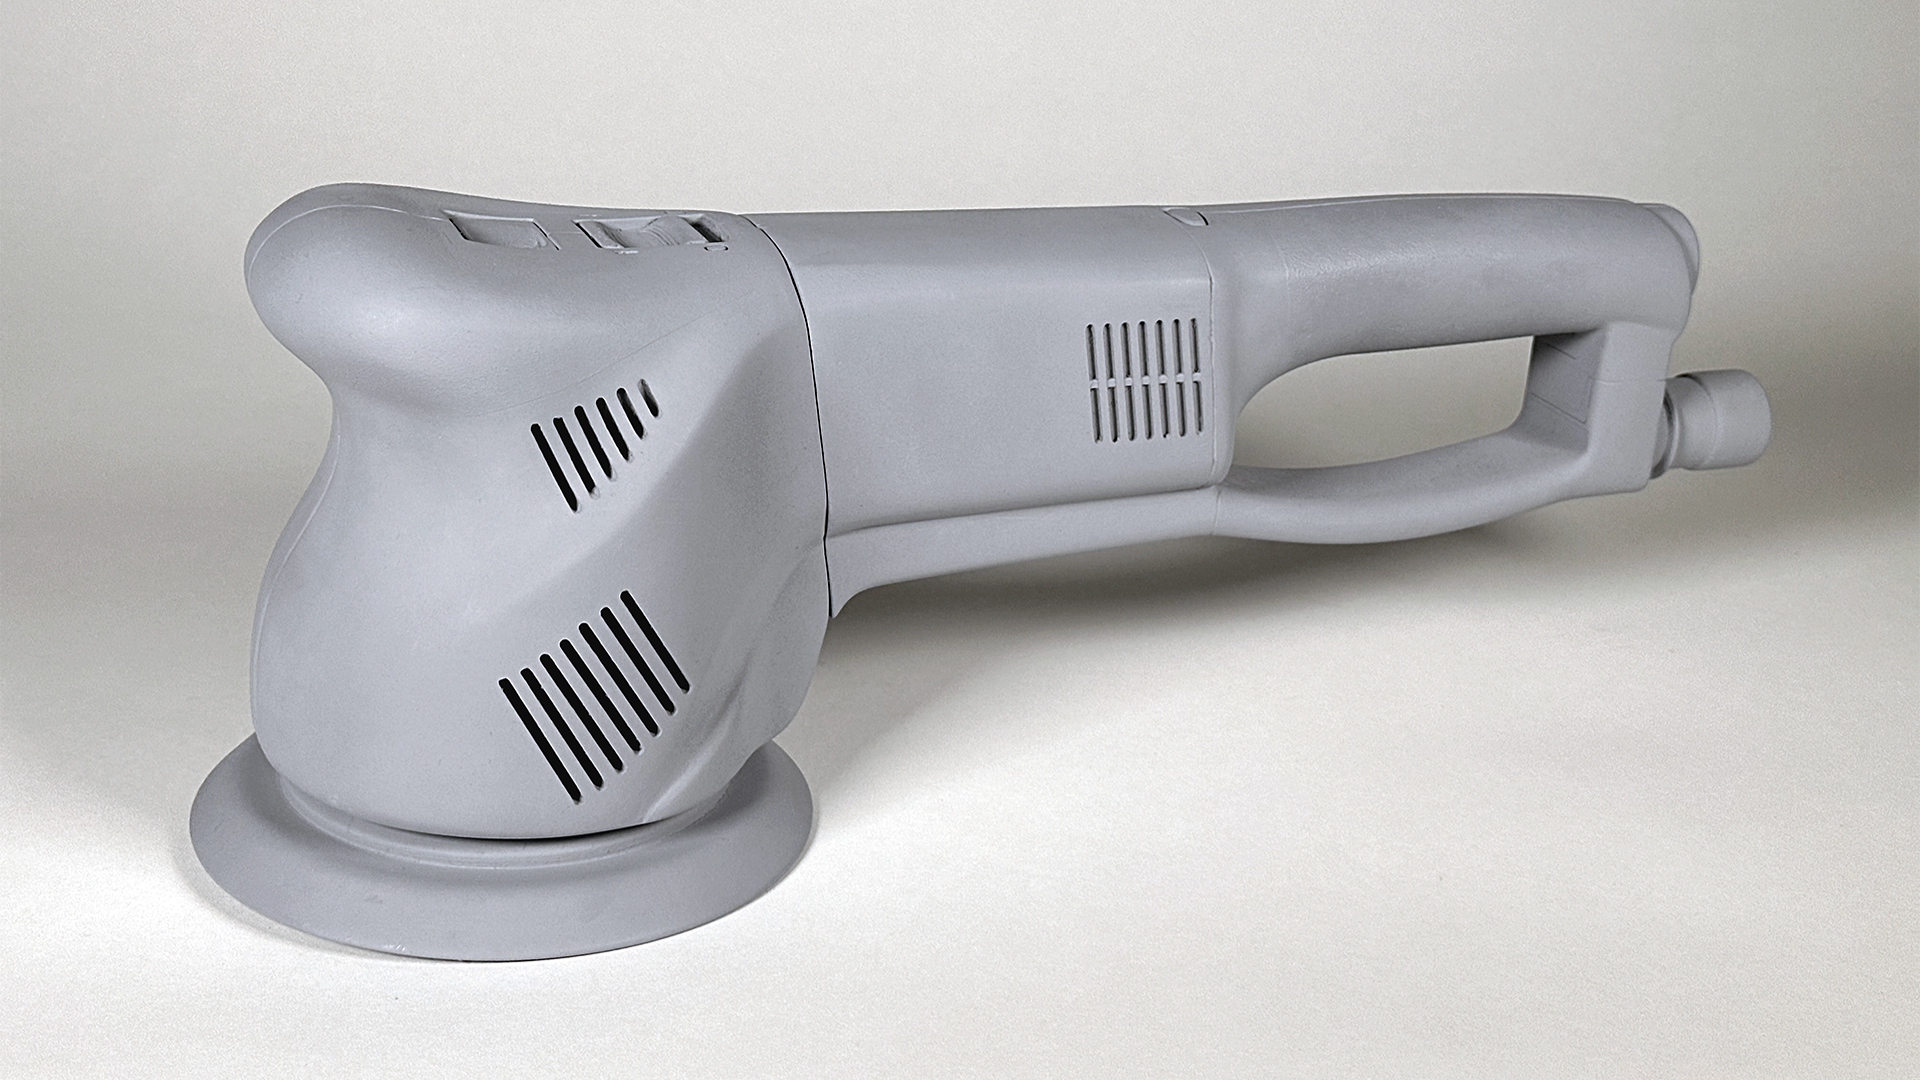
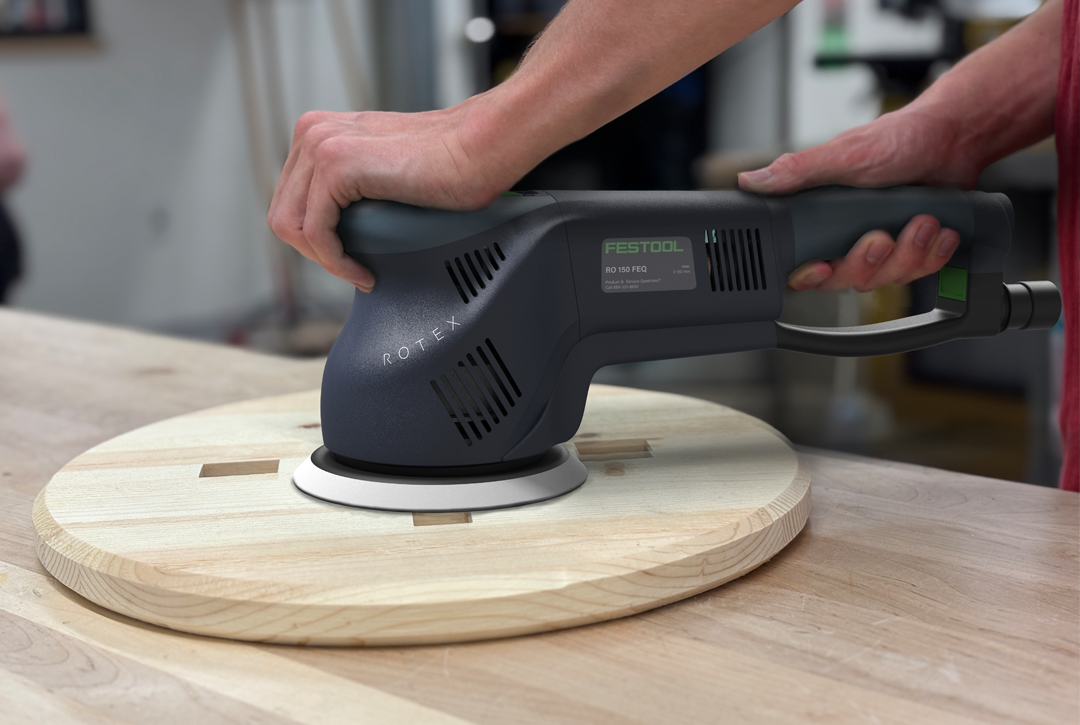
I incorporated the handle that provided the best comfort and control from the foam iterations. The back handle was made flush with the body to make it more connected with the overall design. Aligning the vents with existing surfaces reduced visual noise, ensuring the vents supported the design.
Final Design
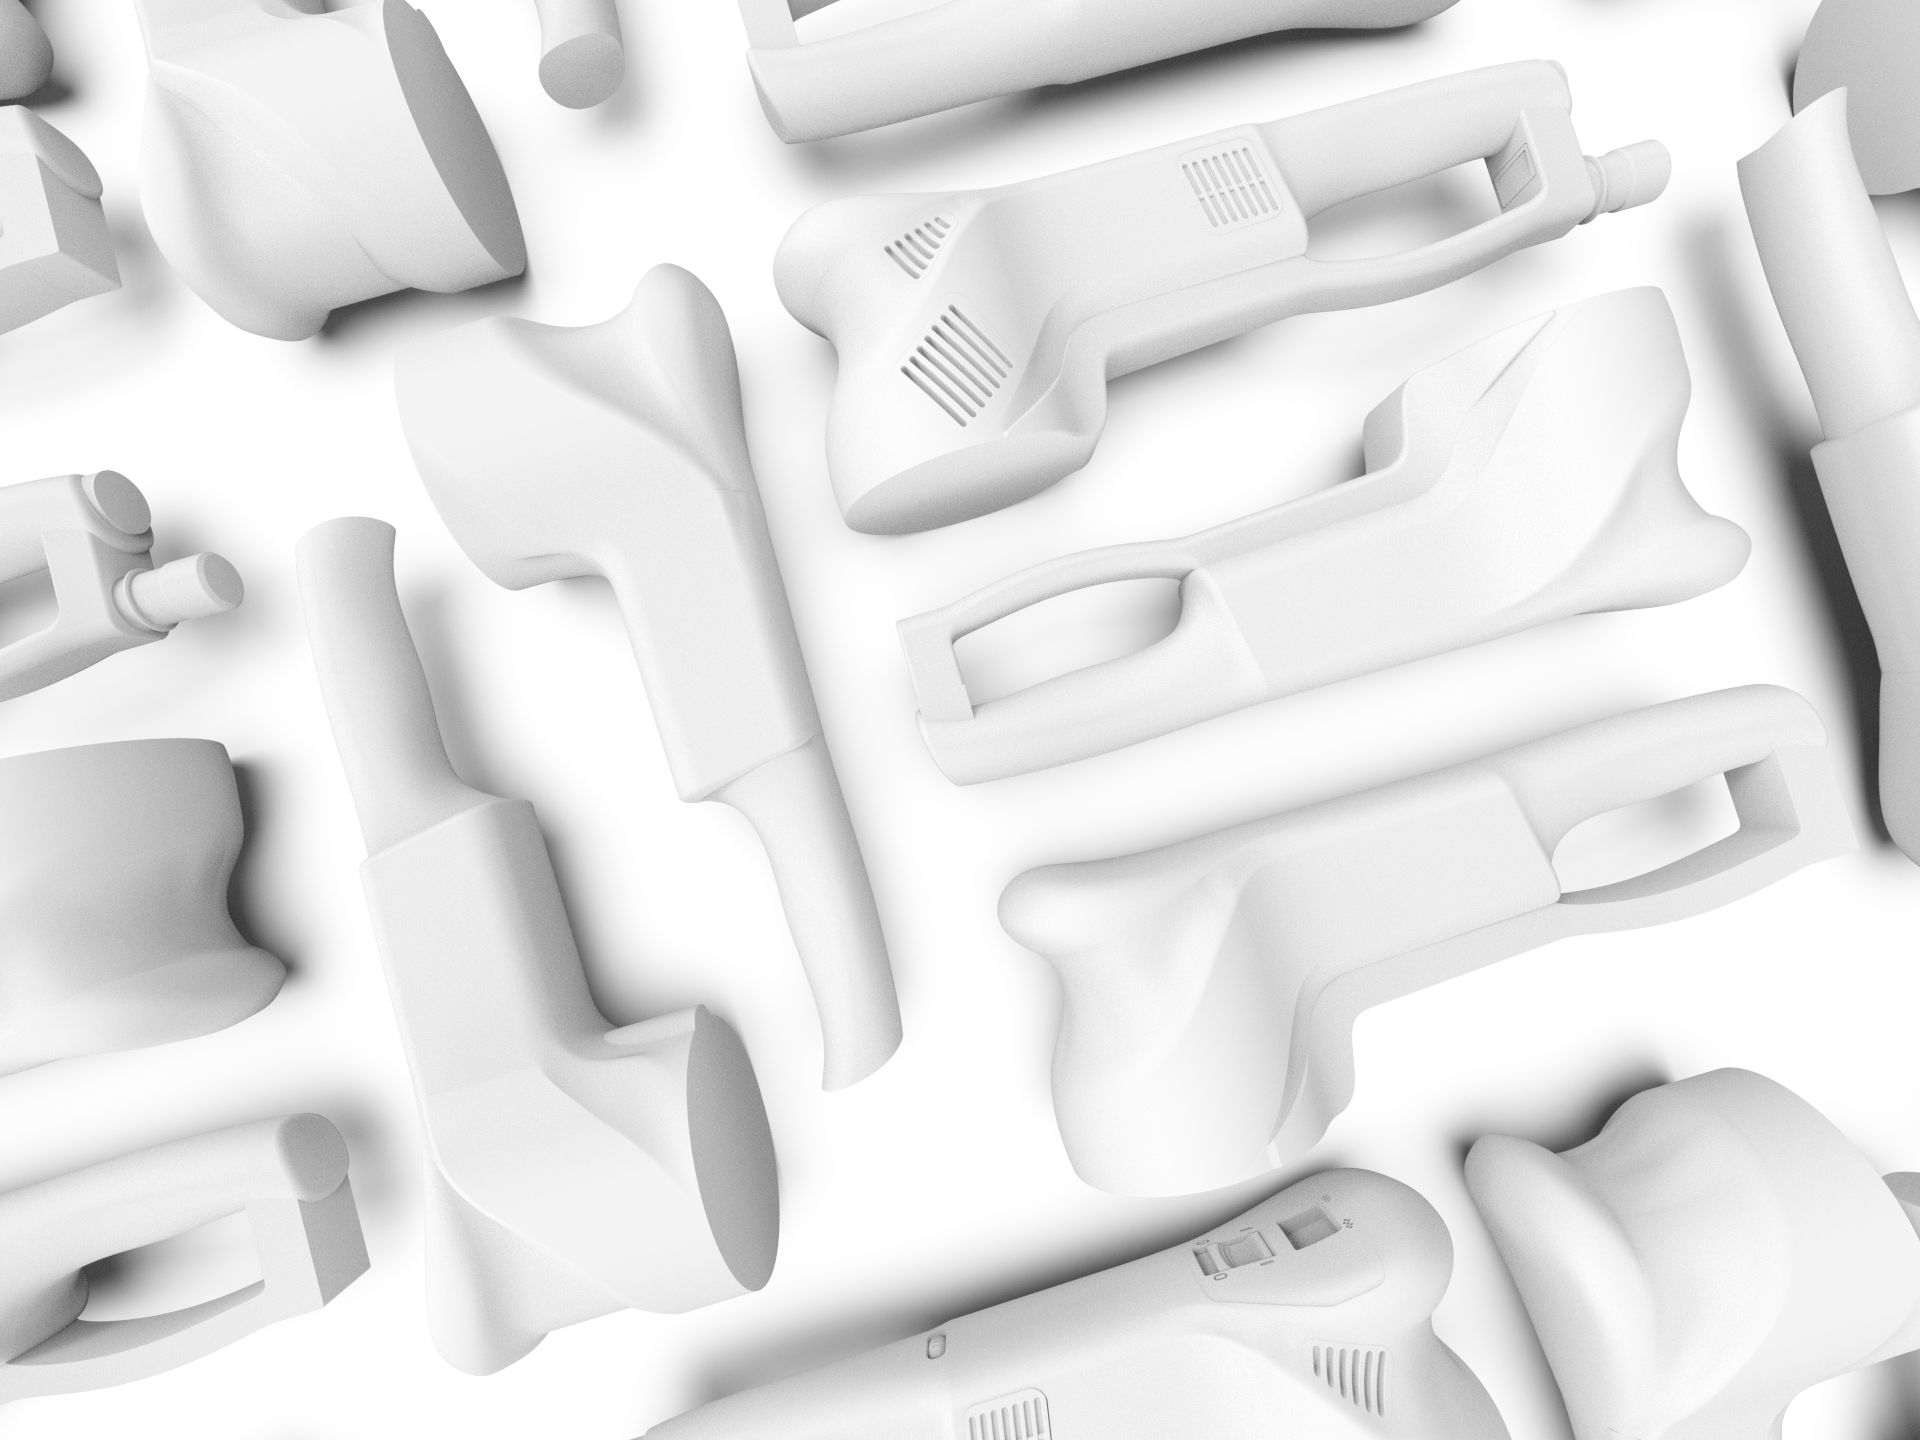
When modeling my final design, I first created the internals to get the correct scale. Then I was able to use both the form tool and surfacing to create my design. Some changes had to be made to the final foam design to make my design surfacable. I was able to reference my Rotex to see how it was broken into surfaces and break mine up into similar ones.
Cad Iterations
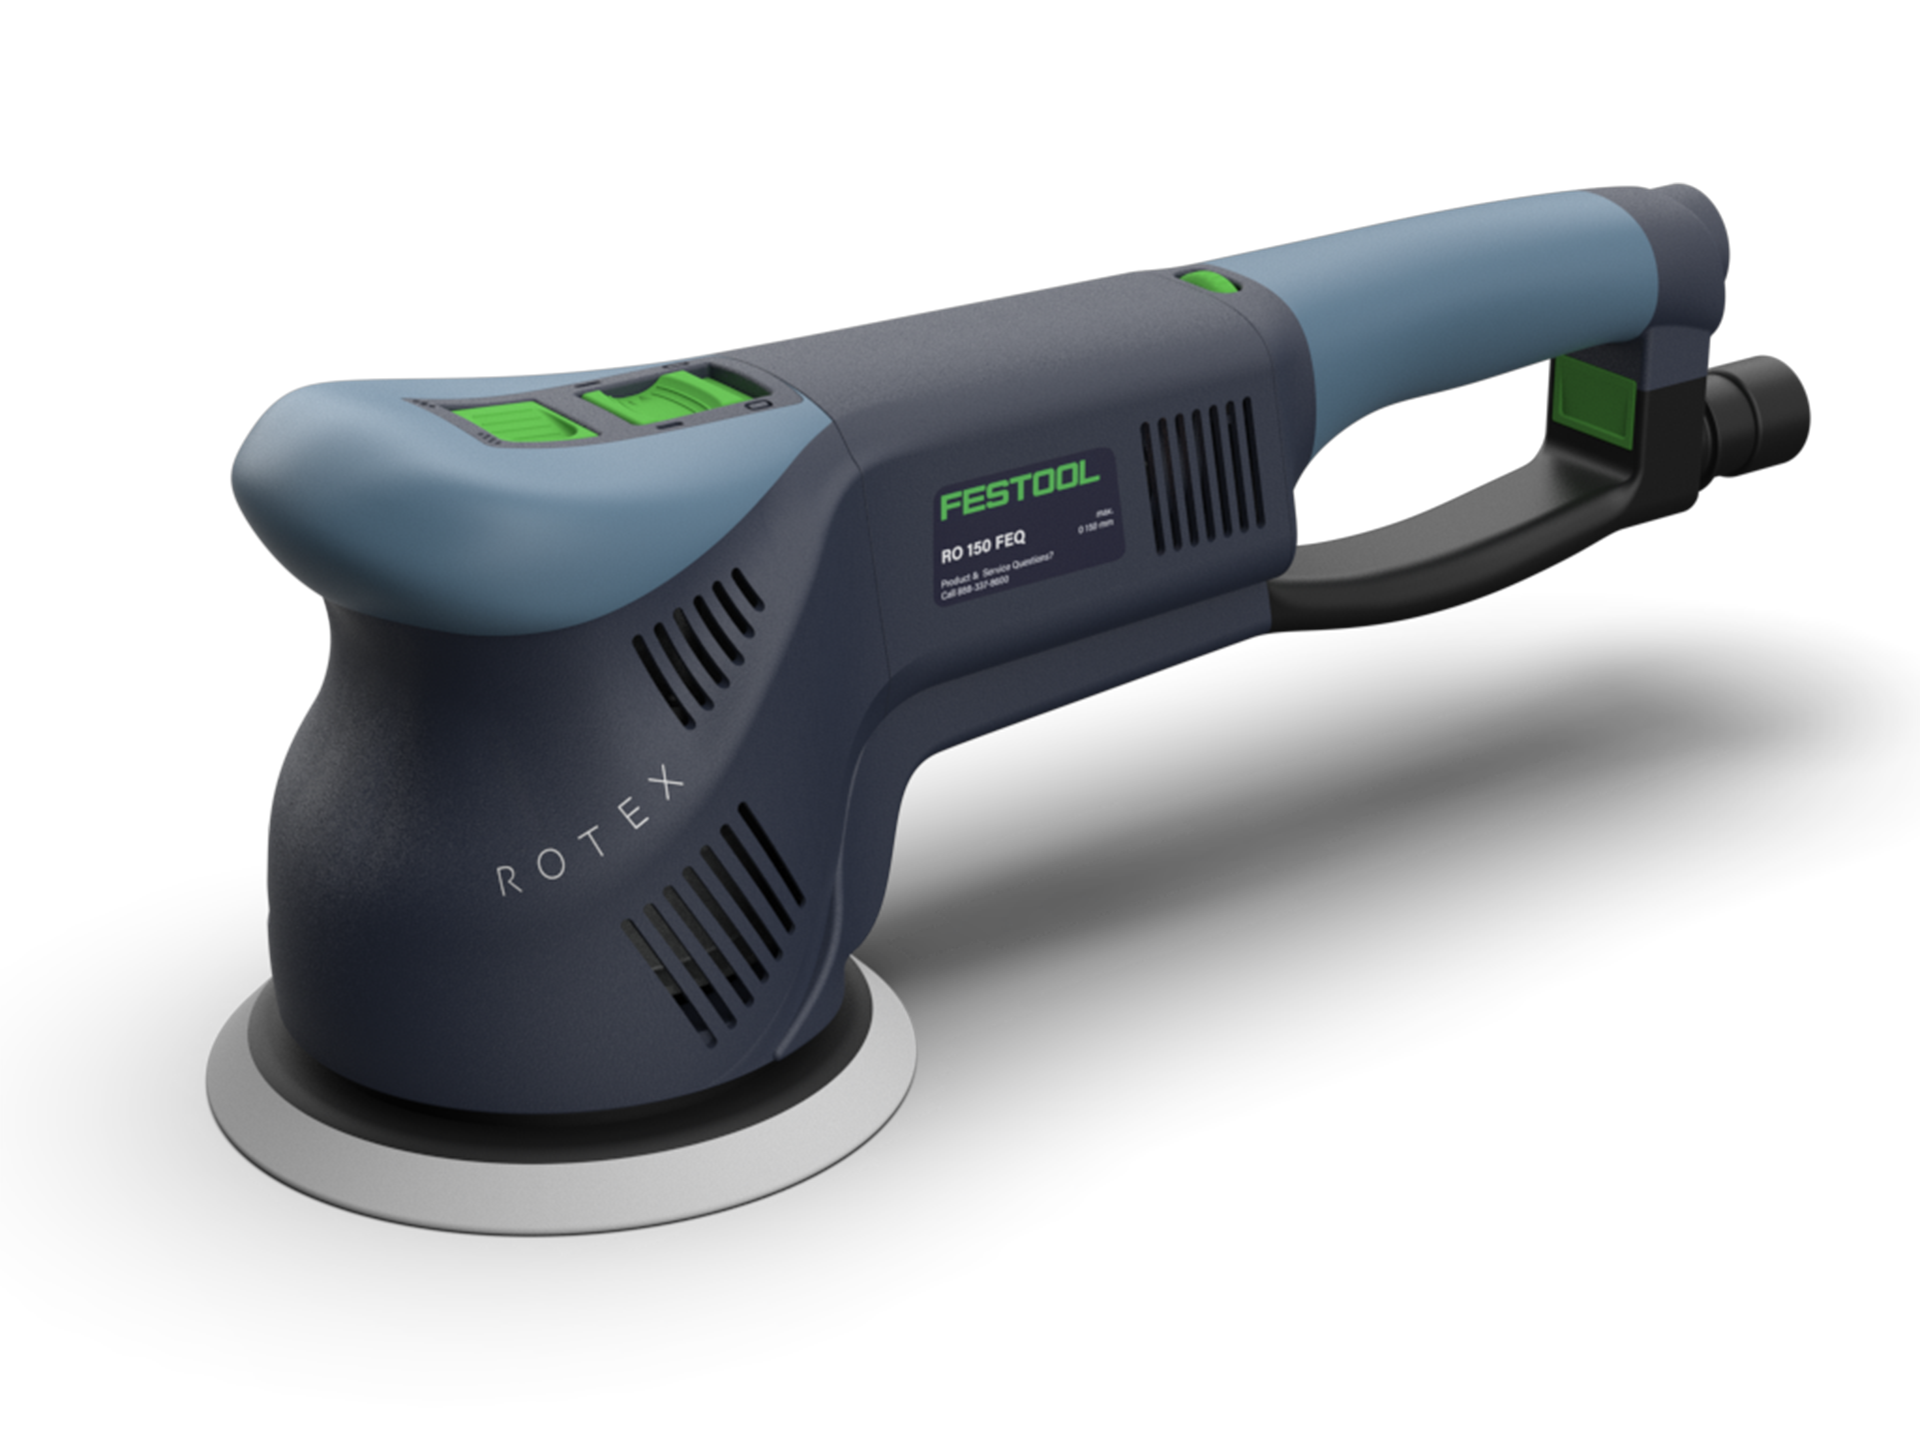
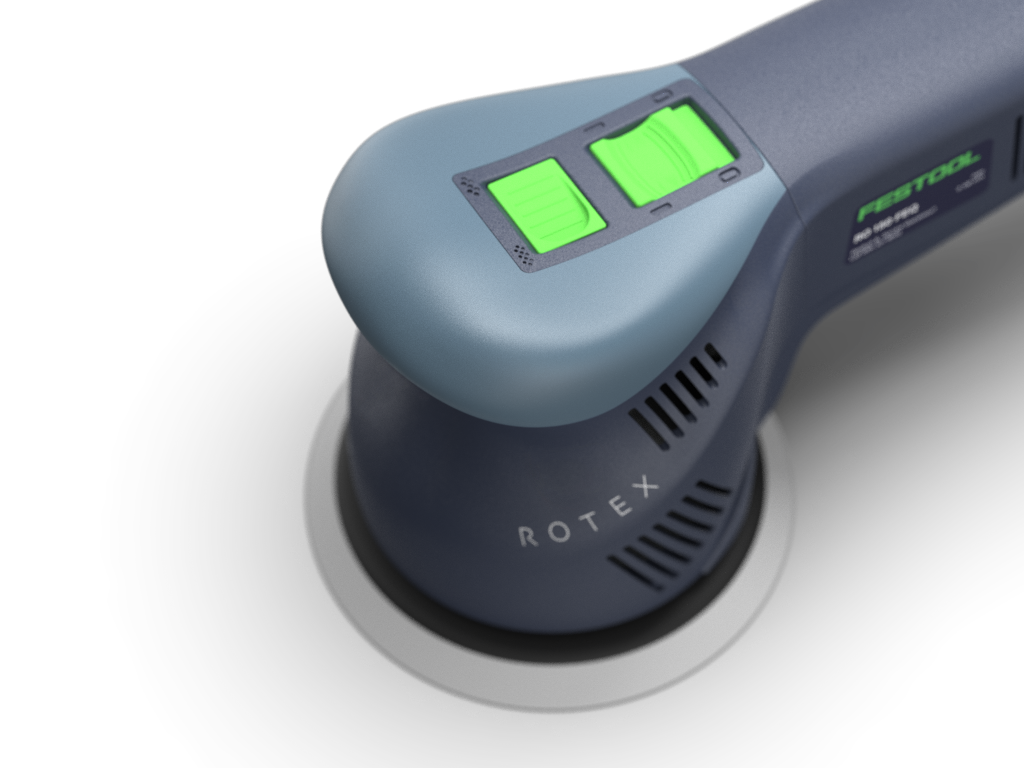
Final Renders